
A single Central Florida storm can dump several inches of rain in under an hour, and if your gutters are clogged, misaligned, or leaking, that water has nowhere to go except straight into your fascia boards, walls, and foundation. Homeowners in Lake, Marion, and Sumter counties know this reality well. The good news is that a thorough gutter inspection process covering visual checks, slope alignment, downspout connections, and a simple hose test can catch problems before they turn into four-figure repair bills. This guide walks you through every step so you can protect your home with confidence.
Table of Contents
- Why gutter inspections matter in Central Florida
- Tools and materials for a safe and effective gutter inspection
- Step-by-step gutter inspection process
- Common issues found and troubleshooting solutions
- Confirming results: What should a successful gutter inspection achieve?
- Professional support and next steps for Florida homeowners
- Frequently asked questions
Key Takeaways
| Point | Details |
|---|---|
| Essential for storm protection | Routine gutter inspections help prevent water damage from heavy Florida rains. |
| DIY is possible for basics | Homeowners can do safe, ground-level checks but should call a pro for roof-level or complex issues. |
| Inspection covers debris and flow | Check for blockages, leaks, proper slope, and downspout integrity using a step-by-step process. |
| Document and act | Take photos during inspection to track problems and make maintenance decisions. |
| Get expert support as needed | Professional services extend gutter lifespan, boost protection, and solve advanced problems. |
Why gutter inspections matter in Central Florida
Central Florida does not get gentle, predictable rain. It gets fast, heavy downpours that can overwhelm a gutter system in minutes. When gutters fail, water backs up under your roofline, soaks into wood framing, and pools against your foundation. Over time, that leads to mold, rot, and structural damage that costs far more to fix than a simple inspection would have prevented.
Florida storms intensify the wear and tear on gutters faster than in most other states. The combination of UV exposure, humidity, and storm debris means your gutters age quickly. Staying ahead of that deterioration is not optional if you want to avoid water damage.
Here is what failing gutters can cause:
- Wood rot along fascia boards and soffits
- Foundation erosion from water pooling at the base of your home
- Mold growth inside walls from moisture infiltration
- Landscape damage from uncontrolled water runoff
- Interior flooding in basements or crawl spaces
Use our Florida water damage checklist to track your home’s risk areas, and review our gutter safety tips before you climb any ladder. Inspecting twice a year, plus after every major storm, is the standard most professionals recommend for this region.
Now that you understand the high stakes, let’s look at what you need for a proper inspection.
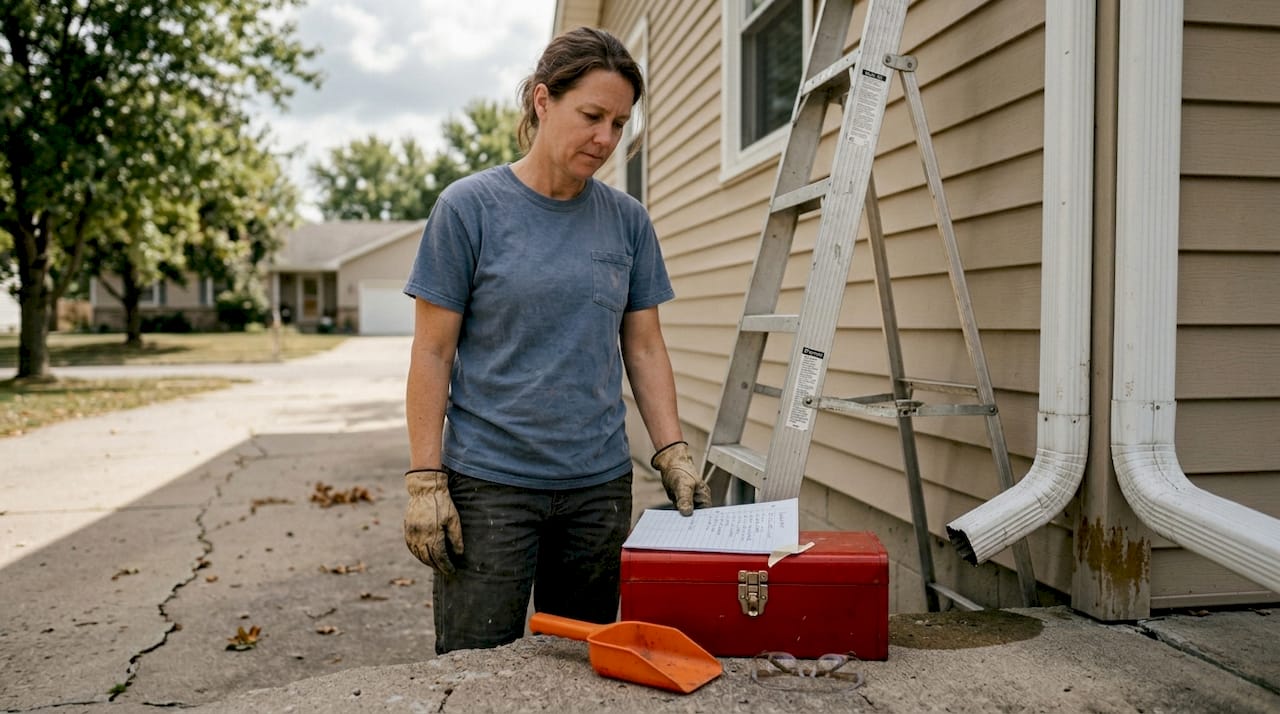
Tools and materials for a safe and effective gutter inspection
You do not need a truck full of equipment to inspect your gutters. But having the right tools makes the job safer, faster, and more useful for future reference.
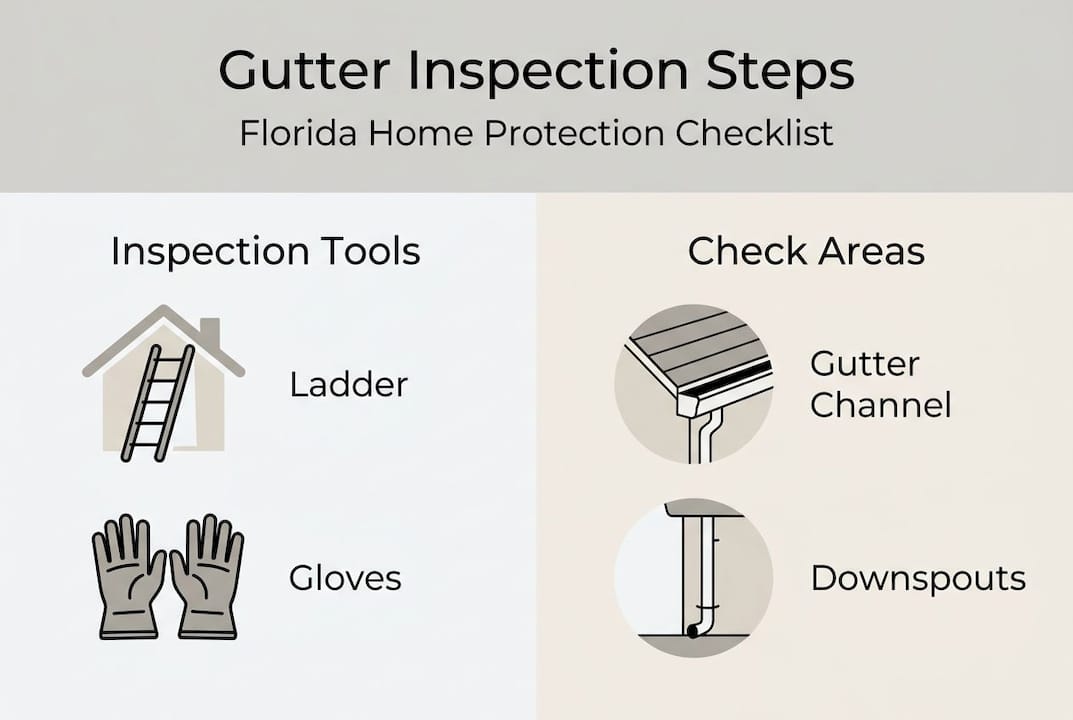
Essential tools:
- Work gloves (protect against sharp metal edges and debris)
- A sturdy ladder with a stabilizer attachment
- Garden hose with a spray nozzle
- Gutter scoop or small trowel
- Smartphone or camera for photo documentation
- Flashlight for shaded sections
- Bucket for debris removal
| Tool | Purpose | Safety note |
|---|---|---|
| Ladder with stabilizer | Reach gutters safely | Never lean against the gutter itself |
| Garden hose | Water flow test | Keep water pressure moderate |
| Gloves | Handle debris and metal edges | Use thick rubber or leather gloves |
| Camera or phone | Document problem areas | Take photos before and after cleaning |
| Gutter scoop | Remove packed debris | Work away from your body |
Safety is not a suggestion here. DIY visual checks are safe for ground-level inspection, but anything involving roof access during or after a Florida storm should be left to a professional. Review our list of gutter maintenance tools and our DIY gutter cleaning tips before you start.
Pro Tip: Take photos of every section of your gutter system before you clean or adjust anything. That before-and-after record becomes invaluable when tracking recurring problems or explaining issues to a contractor.
“Document everything with photos as you go. A visual record helps you spot patterns over multiple inspections and gives professionals a clear picture of your gutter’s history.”
For more on staying safe while working at height, check out our gutter safety advice for Central Florida homeowners.
With your tools ready, let’s move onto the step-by-step inspection process.
Step-by-step gutter inspection process
A proper inspection covers six key areas. Work your way around the entire perimeter of your home, section by section, so nothing gets missed.
- Check for debris buildup. Start by looking into the gutter channel from the ground using binoculars or from the ladder. Leaves, pine needles, and dirt compact into a paste that blocks water flow completely.
- Look for rust, cracks, and wear. Metal gutters corrode over time. Rust spots and hairline cracks are early warning signs. On vinyl gutters, look for brittleness or warping from UV exposure.
- Test all fasteners and hangers. Gutters are held to your fascia by spikes or hidden hangers. Push gently on the gutter. If it moves more than a half inch, the fastener is loose and needs to be re-secured.
- Check alignment and slope. Gutters must slope toward the downspout at roughly a quarter inch for every ten feet of run. Standing water in the channel after rain is a clear sign the slope is off.
- Inspect downspout connections. Every joint where a downspout meets the gutter or the ground extension is a potential leak point. Look for separation, rust, or sealant failure.
- Run a water flow test. Use your garden hose to run water through the entire system. Watch for leaks at seams, slow drainage, or water spilling over the edge. This is the most reliable way to confirm the system is working.
The full gutter inspection process covers all of these steps and helps you catch both visible and hidden problems. Use our inspection checklist to stay organized, and review our downspout installation steps if you find connection issues.
| Inspection area | What to look for | Action if problem found |
|---|---|---|
| Gutter channel | Debris, rust, cracks | Clean or patch immediately |
| Fasteners and hangers | Loose or missing hardware | Re-secure or replace |
| Slope and alignment | Standing water, sagging | Adjust hanger spacing |
| Downspout connections | Gaps, rust, separation | Reseal or reconnect |
| Water flow test | Leaks, overflow, slow drain | Identify source and repair |
Pro Tip: Run your hose test on a dry day so you can clearly see where water exits the system. Wet conditions after rain make it harder to isolate new leaks from existing moisture.
After completing each inspection step, you may notice problem areas or issues needing attention.
Common issues found and troubleshooting solutions
Most gutter problems fall into a handful of categories. Knowing what you are looking at helps you decide whether to fix it yourself or call a professional.
Debris blockages are the most common issue. A clogged gutter can cause water to back up under shingles or overflow onto your foundation. Clean the channel thoroughly and flush with a hose. Our guide on how to clean gutters in Florida covers the full process.
Leaks and rust spots often appear at seams and end caps. Small leaks can be sealed with gutter sealant from the inside. Larger rust patches may require a section replacement. See our tips on how to fix gutter leaks for a step-by-step approach.
Loose or disconnected gutters happen when fasteners pull out of aging fascia wood. Re-securing with longer screws often solves the problem, but if the fascia itself is rotted, that needs to be addressed first.
Incorrect slope causes standing water, which accelerates rust and becomes a breeding ground for mosquitoes. Adjusting the hanger positions to restore the correct pitch usually fixes this. Our gutter repair tips walk you through the adjustment process.
Here is a quick guide to deciding when to DIY and when to call a pro:
- DIY is fine for: ground-level cleaning, resealing small leaks, tightening loose hangers
- Call a pro for: roof-level repairs, major section replacements, persistent slope problems, anything after a significant storm
Professional help is recommended for roof-level fixes and storm damage assessment in Florida. Working on a wet or storm-damaged roof without proper equipment is a serious safety risk.
Pro Tip: If you find the same problem in the same spot every inspection cycle, that is a sign of a structural issue, not just a maintenance gap. A professional assessment will save you time and money in the long run.
“Recurring leaks at the same seam usually mean the gutter section has shifted or the original installation was not quite right. A one-time professional fix beats resealing the same spot every six months.”
Understanding what to look for and how to troubleshoot, let’s review how to confirm your inspection and what results to expect.
Confirming results: What should a successful gutter inspection achieve?
Once you have worked through every step, you should be able to answer yes to each of the following:
- Are the gutter channels clear of debris and standing water?
- Are all fasteners tight and the gutters sitting flush against the fascia?
- Does water flow freely through the downspouts during the hose test?
- Are all seams and end caps sealed with no visible drips or leaks?
- Are downspout extensions directing water at least four feet away from the foundation?
- Do you have a photo record of the current condition for your next inspection?
Properly inspected gutters reduce storm risks and water damage significantly, and keeping a photo log makes each future inspection faster and more accurate. Use our maintenance checklist to record your findings after every inspection.
| Outcome | All-clear sign | Concern sign |
|---|---|---|
| Water flow | Drains freely in under 60 seconds | Slow drain or overflow |
| Gutter channel | Dry and clean after test | Standing water or debris |
| Fasteners | Solid, no movement | Loose, missing, or pulling away |
| Seams and joints | No drips during hose test | Visible leaks or rust staining |
| Downspout discharge | Water exits 4+ feet from home | Pooling near foundation |
If every box is checked, your gutters are in good shape heading into the next storm season. If you found issues you could not resolve, that is your signal to bring in a professional before the next heavy rain.
Having completed your inspection, here is how to take your next steps or get expert help.
Professional support and next steps for Florida homeowners
Handling a basic inspection yourself is a great first step, but some situations call for trained eyes and professional equipment. At Larry’s Gutters, we work with homeowners across Lake, Marion, and Sumter counties to keep gutter systems performing at their best through every storm season.

Whether you need a full system evaluation, a repair after storm damage, or an upgrade to a seamless gutter system, our team is ready to help. We also offer resources to guide your next project, including our downspout installation guide, our gutter guard installation workflow for homes that need extra debris protection, and our gutter replacement steps for systems that are past their prime. Reach out for a free quote and let us help you stay ahead of Florida’s next big storm.
Frequently asked questions
How often should I inspect my gutters in Central Florida?
Inspect your gutters at least twice a year and after every major storm. Florida storms intensify gutter wear faster than in most other climates, so more frequent checks are always a smart move.
Can I do a gutter inspection myself, or should I hire a pro?
You can handle basic ground-level visual checks yourself, but hire a professional for anything involving roof access, major repairs, or post-storm damage assessment.
What signs indicate gutters need repair after an inspection?
Look for leaks, rust, loose fasteners, sagging sections, and slow drainage. The full inspection process covers debris buildup, slope alignment, and downspout integrity as key indicators.
What are the most common mistakes homeowners make during inspection?
Skipping safety precautions and failing to check slope, downspouts, and hidden leaks are the most frequent errors. Always document with photos so you can track changes between inspections.