
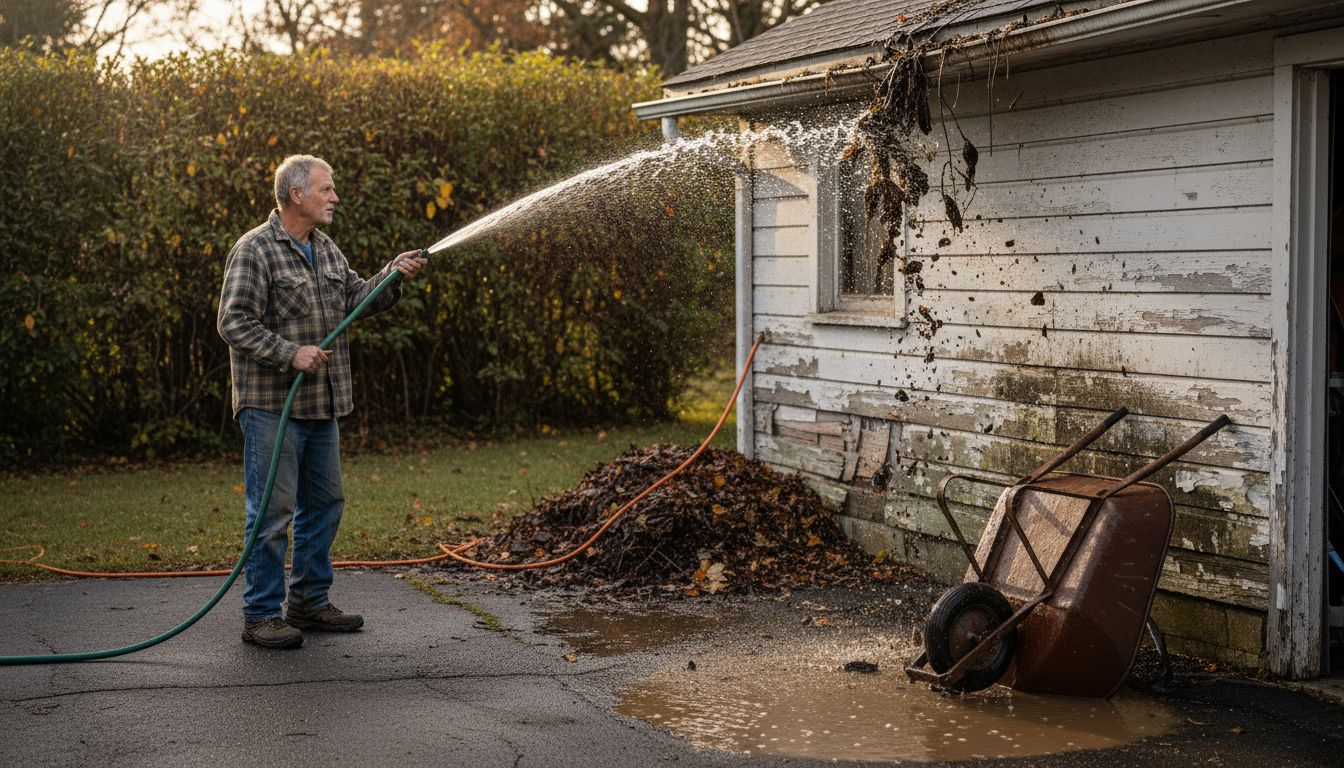
Heavy rainstorms in Central Florida can turn a small gutter leak into a major headache for homeowners in Lake, Marion, and Sumter counties. Each crack or poorly joined seam puts your home at risk for costly water damage, mold, and even foundation problems. By focusing on a clear process for inspection, cleaning, sealing, and reinforcement, this guide highlights the most reliable ways to achieve long-lasting, leak-free gutters and keep your home protected when the next storm rolls through.
Table of Contents
- Step 1: Inspect Gutters For Leak Sources
- Step 2: Clean Gutter Surfaces Thoroughly
- Step 3: Seal Gutter Leaks With Proper Materials
- Step 4: Reinforce Joints And Seams For Durability
- Step 5: Test Repaired Gutters For Watertight Results
Quick Summary
| Key Point | Explanation |
|---|---|
| 1. Inspect gutters regularly | Conduct thorough inspections to identify rust, cracks, or loose seams that can lead to leaks and expensive repairs. |
| 2. Clean gutters twice a year | Remove debris to ensure uninterrupted water flow and prevent overflow that can cause water damage. |
| 3. Seal leaks with appropriate materials | Use specific sealants for different gutter types to effectively stop leaks and protect against water infiltration. |
| 4. Reinforce joints and seams | Strengthen connections to prevent sagging or separation, ensuring long-lasting functionality of your gutter system. |
| 5. Test repairs for leaks | Perform a water tightness test to confirm repairs were successful and check for any signs of leakage before the next rain. |
Step 1: Inspect gutters for leak sources
Identifying the source of gutter leaks is crucial for preventing water damage to your Florida home. By systematically examining your gutters, you can pinpoint potential problem areas before they escalate into costly repairs.
Start by conducting a thorough visual inspection of your entire gutter system. Look for clear indicators of damage such as rust, cracks, holes, or loose seams. Pay special attention to gutter joint connections where leaks commonly develop. During this examination, you’ll want to check several key areas:
- Joints and seams between gutter sections
- Downspout connections
- Areas around fasteners and mounting brackets
- Corners and curved sections of the gutter system
Ensure your gutters have the proper slope toward downspouts to prevent standing water, which can accelerate wear and cause leaks. A good rule of thumb is a quarter-inch drop for every 10 feet of gutter length. Use a level to confirm the correct angle and make adjustments if needed.
Proper gutter slope is critical for preventing water accumulation and potential damage to your home’s foundation.
Look for signs of corrosion, particularly in metal gutters. Copper gutters are more resistant to corrosion, but other materials like aluminum can develop weak spots over time. Check for any areas where the gutter material appears thin, discolored, or starting to separate.
Here’s a side-by-side look at common gutter materials and their pros and cons:
| Gutter Material | Durability | Corrosion Resistance | Maintenance Needs |
|---|---|---|---|
| Aluminum | 10-20 years | Moderate | Clean twice a year |
| Copper | 20+ years | Excellent | Inspect for solder |
| Steel | 10-15 years | Low | Frequent checks |
| Vinyl | 10+ years | Good | Check for cracks |
Pro tip: Conduct your gutter inspection on a dry day with good lighting to ensure you can spot even minor imperfections and potential leak sources.
Step 2: Clean gutter surfaces thoroughly
Cleaning your gutters is a critical maintenance task that prevents water damage and extends the life of your home’s drainage system. By thoroughly removing debris and buildup, you’ll ensure smooth water flow and reduce the risk of potential leaks.
Begin your cleaning process by gathering the necessary tools. You’ll need debris removal equipment such as:
- Heavy-duty work gloves
- Sturdy ladder
- Plastic gutter scoop
- Garden hose
- Bucket for debris collection
- Safety goggles
Start at the downspout and methodically work your way along the gutter, removing leaves, twigs, moss, and any accumulated organic material. Wear protective gloves to shield your hands from sharp edges and potential bacterial growth. Scoop out debris carefully, placing it directly into your bucket to avoid making a mess on the ground.
Consistent gutter cleaning prevents moisture problems and protects your home’s structural integrity.
After manually removing solid debris, use a garden hose to flush the gutters. This will help you identify any remaining blockages and check for potential leaks. Ensure water flows smoothly toward downspouts, watching for any areas where water might pool or overflow.
Pro tip: Clean your gutters at least twice a year, with additional maintenance after major storms or during Florida’s heavy rainfall seasons to prevent potential water damage.
Step 3: Seal gutter leaks with proper materials
Sealing gutter leaks is a critical repair that prevents water damage and extends the life of your home’s drainage system. With the right materials and techniques, you can effectively stop leaks and protect your Florida home from potential water infiltration.
Start by selecting the appropriate sealing materials based on your gutter type. Gutter repair techniques require specific approaches for different materials:
- Aluminum gutters: Silicone-based sealants
- Metal gutters: Metal patches and roofing cement
- Copper gutters: Specialized copper-compatible sealants
- Small holes: Gutter repair tape or patches
Clean the leak area thoroughly before applying any sealant. Remove all dirt, debris, and moisture to ensure proper adhesion. Use a wire brush to create a clean surface, then dry the area completely with a cloth or towel.
Proper surface preparation is crucial for creating a long-lasting seal that prevents future water damage.
Apply the sealant carefully, following the manufacturer’s instructions. Use smooth, even strokes when spreading the material, ensuring complete coverage of the leak area. For metal patches, press firmly and allow adequate time for the sealant to cure completely.
Pro tip: Work on a dry, mild day with temperatures between 50-80 degrees Fahrenheit to ensure optimal sealant performance and maximum adhesion.
Step 4: Reinforce joints and seams for durability
Reinforcing gutter joints and seams is crucial for preventing leaks and ensuring your drainage system can withstand Florida’s challenging weather conditions. Properly strengthened connections will help your gutters remain secure and functional for years to come.
Start by examining your gutter system’s gutter joint reinforcement techniques. Different materials require specific approaches:
- Aluminum gutters: Use mechanical fasteners and silicone sealant
- Copper gutters: Apply professional soldering techniques
- Metal gutters: Install additional brackets and use heavy-duty sealants
- Expansion joints: Allow for thermal movement and prevent stress
Inspect existing fasteners carefully before reinforcing. Replace any loose or corroded mounting brackets, ensuring they can support the gutter’s weight. Measure spacing between supports to distribute weight evenly and prevent sagging.
Proper reinforcement prevents joint separation and maintains the gutter system’s long-term integrity.
Apply sealant along joint connections, pressing firmly to create a watertight bond. For metal gutters, consider using additional strapping or specialized mounting hardware to provide extra support against wind and environmental stress.
Pro tip: Use stainless steel hardware and corrosion-resistant fasteners to maximize the longevity of your gutter reinforcement efforts.
Step 5: Test repaired gutters for watertight results
Verifying the effectiveness of your gutter repairs is the final critical step in ensuring reliable rain protection for your Florida home. A thorough water tightness test will help you confirm that your repairs have successfully addressed all potential leak sources.
Prepare for testing by gathering the necessary equipment:
- Garden hose with adjustable nozzle
- Ladder
- Dry towels or rags
- Flashlight
- Notebook for recording observations
Set up your testing environment carefully. Choose a day with no active rainfall but comfortable working conditions. Start at one end of the gutter system and systematically work your way along, simulating rain conditions by directing water through the repaired sections.
Careful testing now can prevent costly water damage to your home in the future.
Observe water flow meticulously during your test. Watch for any signs of leakage at joints, seams, and repaired areas. Pay special attention to how water moves toward downspouts, checking for proper slope and smooth drainage. Use your flashlight to inspect hard-to-see areas, looking for even the smallest signs of water seepage.
This summary shows how each repair step protects your home:
| Step | Purpose | Risk Prevented | Best Practice |
|---|---|---|---|
| Inspection | Spot minor leaks early | Costly repairs | Dry, sunny day |
| Cleaning | Remove blockages | Overflow, rot | Twice annually |
| Sealing | Fix leak points | Water damage | Proper surface prep |
| Reinforcement | Secure joints | Separation, sag | Stainless hardware |
| Testing | Validate repairs | Missed leaks | Daylight testing |
Pro tip: Conduct your water tightness test during daylight hours to more easily spot any subtle leaks or potential problem areas.
Protect Your Home with Expert Gutter Solutions from Larry’s Gutters
Dealing with leaky gutters can cause serious water damage and costly repairs for your Florida home. From inspecting joints and seams to sealing leaks and reinforcing connections, the process requires the right knowledge and materials to get it done effectively. If you want to avoid the stress of repeated repairs and ensure your gutters provide reliable rain protection year-round, professional help is the answer.
Larry’s Gutters specializes in seamless gutter installation, expert gutter repairs, and comprehensive gutter cleaning services designed specifically for Central Florida’s heavy rains and unpredictable weather. With custom-fit gutters, corrosion-resistant materials, and precision workmanship your home will stay protected from water damage so you can enjoy peace of mind.
Take the first step toward a worry-free gutter system by requesting a free quote or contacting the team directly at Larry’s Gutters. Trust professionals who understand the importance of proper inspection, sealing, and reinforcement just like the steps detailed in “How to Fix Gutter Leaks for Reliable Rain Protection.”
Expert Seamless Gutter Installation ensures precision and durability.
Reliable Gutter Repair and Maintenance to restore your system’s full function.
Protect Your Investment Today with Larry’s Gutters and avoid costly water damage tomorrow.

Frequently Asked Questions
How do I find the source of gutter leaks?
To find the source of gutter leaks, inspect the entire gutter system for visible signs of damage, such as rust, cracks, or loose seams. Focus on areas where gutter sections connect and check the slope toward downspouts to ensure proper drainage.
What materials do I need to clean my gutters effectively?
To clean your gutters effectively, gather heavy-duty work gloves, a sturdy ladder, a plastic gutter scoop, a garden hose, a bucket for debris collection, and safety goggles. Start by removing debris from the downspout and ensure water flows smoothly after cleaning.
How do I seal a leak in my gutters?
Seal a leak in your gutters by first cleaning the area thoroughly and then applying the appropriate sealant for your gutter material, such as silicone for aluminum or specialized sealants for copper. Ensure that the sealant is evenly applied and allow it to cure completely for maximum effectiveness.
How can I reinforce gutter joints to prevent leaks?
Reinforce gutter joints by checking existing fasteners for corrosion and replacing any that are loose. Use mechanical fasteners and apply silicone sealant to joints for aluminum gutters, or consider professional soldering techniques for copper installations.
When should I test my repaired gutters for leaks?
Test your repaired gutters for leaks on a dry day with no rain, using a garden hose to simulate rainfall. Observe water flow for signs of leaks, focusing on joints and seams to confirm that all repairs are watertight.
How often should I clean my gutters for reliable rain protection?
Clean your gutters at least twice a year, with additional cleanings after major storms or heavy rainfall. Regular maintenance helps prevent blockages that can lead to leaks and water damage.
Recommended
- 7 Essentials for Your Gutter Installation Checklist
- How to Tell Gutters Need Replacing: Step-by-Step Guide
- 7 Smart Examples of Gutter Upgrades for Florida Homes
- 7 Top Gutters for Florida Homes: Protect Your Investment
- 4 Steps to Weatherproof Your Roof in Storm Season
- Gutter Services Gainesville FL
- Gutter Services The Villages FL
