
Florida’s rainy seasons can pour more than 50 inches annually, putting every American homeowner in Lake, Marion, and Sumter counties at risk for costly water intrusion. Gutters are a home’s first line of defense against foundation and roof damage, yet many go years without a proper checkup. Discover how a clear, step-by-step approach to gutter replacement can help you avoid repairs and keep your property resilient through every storm.
Table of Contents
- Step 1: Assess Existing Gutters And Measure Roofline
- Step 2: Remove Old Gutters And Clean Installation Area
- Step 3: Install New Gutter Hangers And Supports
- Step 4: Mount Seamless Gutters And Connect Sections
- Step 5: Seal Joints And Test For Proper Drainage
Quick Summary
| Important Point | Explanation |
|---|---|
| 1. Assess and measure accurately | Inspect existing gutters for damage and measure roofline length to ensure proper installation and material choice. |
| 2. Clean installation area thoroughly | Remove old gutters and debris to create a clear, stable surface for the new system, preventing future issues. |
| 3. Use quality hangers and supports | Space gutter hangers no more than 30 inches apart, using corrosion-resistant materials to enhance stability and lifespan. |
| 4. Ensure seamless joint connections | Create secure, watertight connections among gutter sections with proper fabrication techniques to reduce leakage risk. |
| 5. Seal joints and conduct drainage tests | Apply sealant to joints and test the system with water to identify leaks and verify effective drainage away from the home. |
Step 1: Assess existing gutters and measure roofline
Preparing to replace your gutters starts with a comprehensive inspection and accurate measurements of your home’s roofline. This critical first step ensures you understand the specific requirements for your gutter replacement project and can select the right materials and approach.
Begin by visually examining your current gutter system using professional guidelines. Look for signs of damage such as rust, cracks, or holes that might compromise water drainage. Gutter inspectors recommend checking the size and condition to prevent potential water damage. Most residential gutters come in standard sizes like 4, 5, and 6 inches, typically in K-style or U-style configurations. Measure the length of your roofline systematically, noting any unique architectural features or angles that might affect gutter installation.
To determine the appropriate gutter capacity, use precise measurement techniques. Assess your roof’s square footage and calculate the expected water runoff volume. Professional standards suggest maintaining a slight slope of approximately 1/16-inch per foot to ensure proper water flow toward downspouts. For complex roof configurations, consider using specialized downspout and gutter sizing calculators to guarantee optimal water management.
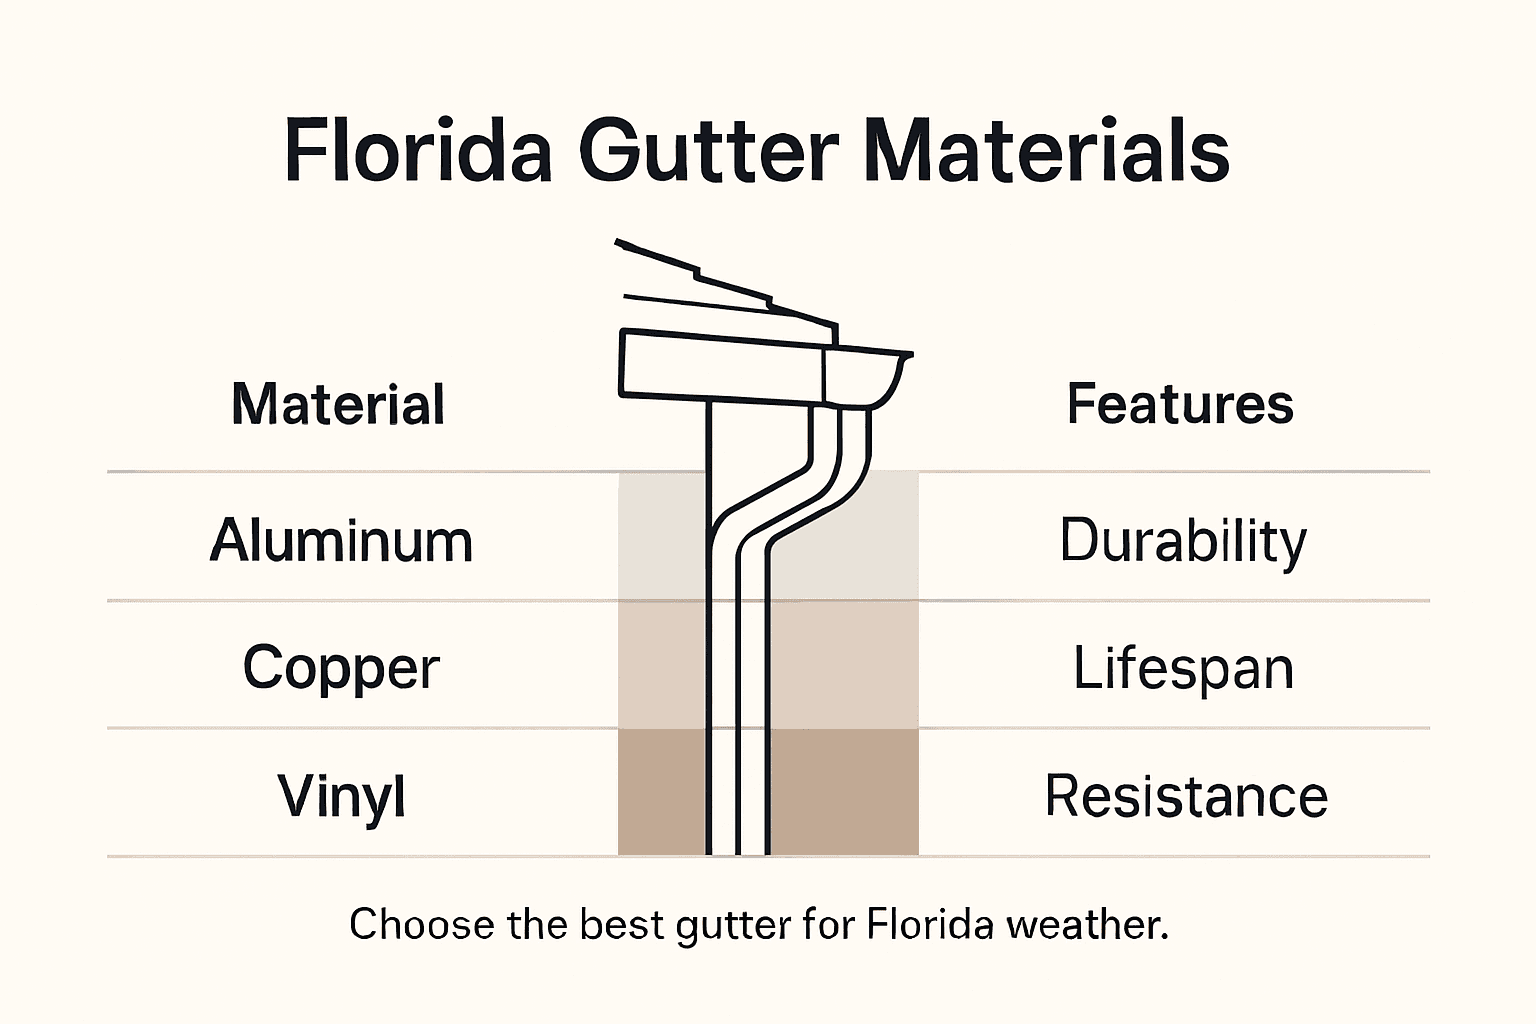
Here is a quick comparison of common gutter materials suitable for Florida homes:
| Material | Durability in Humid Climate | Corrosion Resistance | Typical Lifespan |
|---|---|---|---|
| Aluminum | High | Excellent | 20+ years |
| Copper | Very High | Outstanding | 50+ years |
| Vinyl | Moderate | Good | 10-20 years |
| Galvanized Steel | Moderate | Fair | 15-25 years |
Pro tip: Recruit a helper and use a sturdy ladder with safety stabilizers when measuring your roofline to ensure accurate measurements and prevent potential accidents.
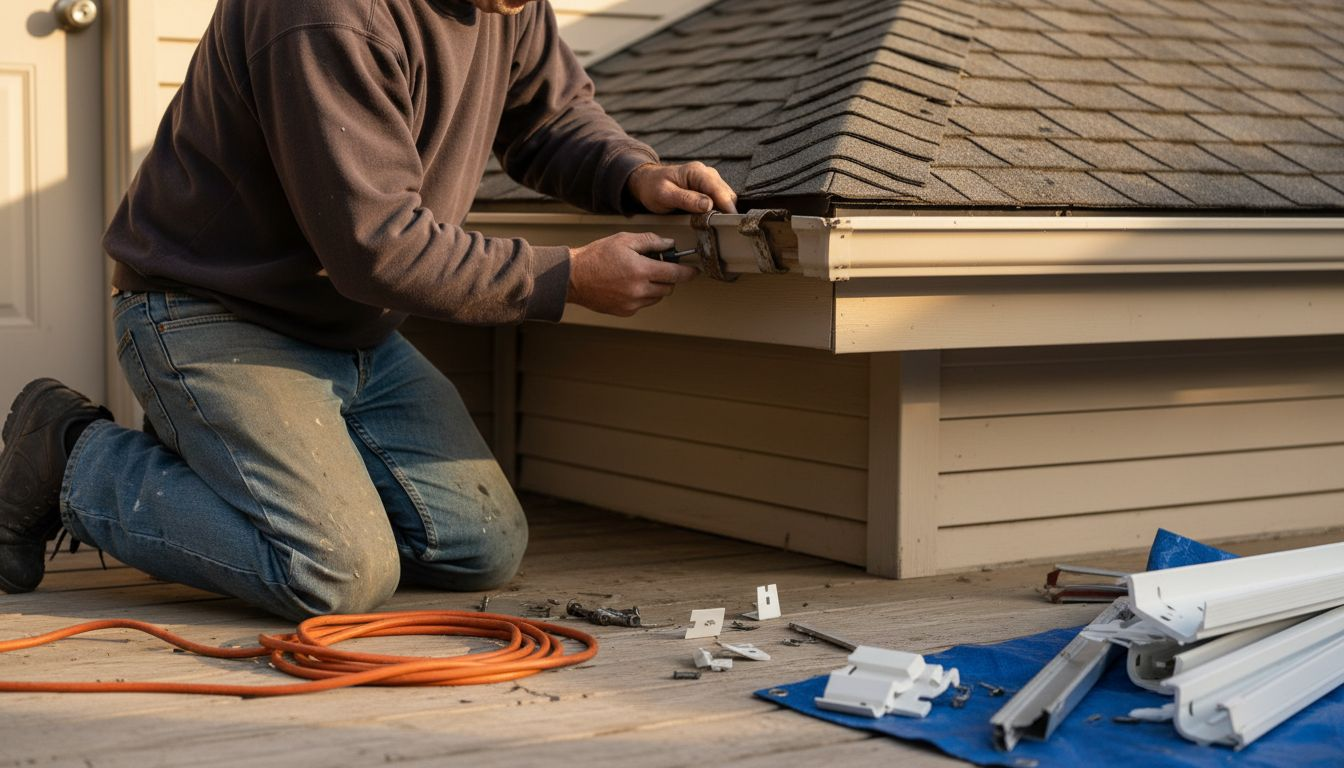
Step 2: Remove old gutters and clean installation area
Removing your existing gutters is a critical step in preparing for a new gutter system that will protect your home from Florida’s intense rainfall. This process requires careful dismantling to prevent damage to your roofline and ensure a clean surface for new installation.
Begin by carefully detaching the existing gutter system, working methodically to avoid damaging the fascia or roofline. Preservation experts recommend thoroughly cleaning the installation area to remove any accumulated debris, leaves, and dirt. Pay close attention to how the old gutters are connected, especially checking for any improper connections to drainage systems. Inspect the fascia and roofline for signs of water damage, rot, or structural issues that might need repair before installing new gutters.
Cleaning the installation area is more than just removing dirt. Take time to carefully remove any remaining brackets, screws, or mounting hardware from the previous gutter system. Ensure the surface is completely clear and smooth.aspx) to provide a secure foundation for your new gutters. If you discover any structural damage or areas of concern, address these before proceeding with the new installation to prevent future water management problems.
Pro tip: Take photographs of the existing gutter installation before removal to help you understand the original mounting configuration and ensure accurate replacement.
Step 3: Install new gutter hangers and supports
Installing gutter hangers and supports is a critical phase in ensuring your new gutter system will effectively protect your home from Florida’s intense rainfall and potential water damage. This step requires precision and careful attention to detail to create a secure and long lasting installation.
Structural guidelines recommend spacing gutter hangers no more than 30 inches apart to provide optimal support and stability. Begin by selecting high quality hangers made from corrosion resistant materials that can withstand Florida’s humid climate. Carefully mark the precise locations for each hanger, ensuring they are level and aligned perfectly with your roofline. Construction experts emphasize the importance of using appropriate hardware with sufficient strength and corrosion resistance to support the gutters under various weather conditions.
Secure each hanger firmly into the fascia board or roof structure, making certain they can bear the weight of the gutters and potential water accumulation. Consider the expansion and contraction of materials due to temperature changes, which is especially important in Florida’s variable climate. Double check that each hanger is level and provides consistent support along the entire length of the gutter system.
Pro tip: Use a chalk line to ensure perfectly straight and level hanger placement across long gutter runs.
Step 4: Mount seamless gutters and connect sections
Mounting seamless gutters is a precise process that requires careful measurement and strategic installation to ensure optimal water management for your Florida home. This step transforms your prepared roofline into an effective water drainage system that can withstand intense rainfall and humidity.
Precise fabrication techniques recommend creating gutter sections that minimize joints along the roofline to prevent potential leakage points. Begin by positioning the first gutter section carefully, ensuring it aligns perfectly with your previously installed hangers. When connecting adjacent sections, use professional joining methods such as crimping, welding, or pop rivets to create secure water tight connections. Copper gutter installation guidelines suggest using lap seams and strategic mounting techniques that allow for material expansion and contraction.
As you mount each section, maintain a consistent slight slope toward the downspouts to facilitate proper water drainage. Pay special attention to expansion joints, spacing them appropriately to prevent stress related damage from temperature fluctuations. Install drip edges and apron flashing along the roof edge to guide water effectively into your new gutter system. Verify that each section is level and securely fastened, creating a seamless path for water runoff.
Pro tip: Use a spirit level at multiple points during installation to ensure your gutters maintain a consistent and proper drainage angle.
Here is a summary of key installation steps and their impact on performance:
| Step | Purpose | Impact on Gutter Performance |
|---|---|---|
| Precise Measurement | Match gutter size and roof runoff | Ensures efficient water flow |
| Clean Installation Area | Remove debris and old hardware | Prevents leaks and misalignment |
| Proper Hanger Spacing | Secure gutters to roof structure | Minimizes sagging, increases life |
| Seamless Joint Connections | Reduce leak points | Improves durability and flow |
Step 5: Seal joints and test for proper drainage
Sealing gutter joints and testing drainage is the final critical step in ensuring your new gutter system will effectively protect your Florida home from water damage. This process involves meticulous inspection and verification of your installation to guarantee optimal performance during heavy rainfall.
Proper drainage testing involves comprehensive leak detection techniques that confirm the integrity of your gutter system. Apply professional grade sealant to all joints and connections, ensuring a water tight seal that prevents potential leakage. Drainage system testing protocols recommend using air pressure methods to identify potential weak points in the gutter installation. Create a systematic testing approach by checking each section for continuous slope and verifying that water flows smoothly toward downspouts without pooling.
Ensure that downspouts direct water at least 4 to 6 feet away from your home’s foundation to prevent potential water damage. Simulate rainfall conditions by using a garden hose to test the entire gutter system, observing water flow and checking for any unexpected drips or leaks. Pay special attention to joint connections and areas where different gutter sections meet. If you detect any issues, reapply sealant and retest until you achieve a completely water tight installation.
Pro tip: Perform your drainage test during a dry day to easily identify and mark any problematic areas that need additional sealing.
Protect Your Florida Home with Expert Gutter Replacement
Replacing gutters is more than a simple upgrade. It requires precise measurement, damage inspection, and the right installation techniques to keep your home safe from heavy rain and water damage. This article highlights challenges like selecting corrosion-resistant hangers, ensuring seamless gutter connections, and testing drainage to avoid leaks that can harm your roofline and foundation.
At Larry’s Gutters, we understand these pain points and offer high-quality, custom-fit seamless gutters designed for Florida’s unique climate. Our professional team handles every step from removing old gutters to installing new hangers and sealing joints with expert care. We also provide gutter guard installation to help keep debris out and extend your gutter system’s lifespan in this humid environment.
Seamless Gutter Installation professionals at Larry’s Gutters ensure accurate measurements and reliable materials for your home. Ready to secure your property against Florida’s intense rainfall?

Don’t wait until minor gutter problems cause costly water damage. Visit Larry’s Gutters today to request a free quote or contact us for expert assistance with gutter replacement, repair, and maintenance tailored to your Florida home.
Frequently Asked Questions
How do I assess my existing gutters before replacement?
Begin by visually inspecting your current gutter system for signs of damage such as rust, cracks, or holes. Measure the length of your roofline and note any unique features that may impact the installation.
What materials should I consider for gutters in Florida?
Common materials include aluminum, copper, vinyl, and galvanized steel. Choose a material with high durability and corrosion resistance to ensure it withstands Florida’s humid climate.
How do I ensure my new gutters will drain properly?
Maintain a slight slope of approximately 1/16-inch per foot toward downspouts during installation. This angle will facilitate proper water flow and reduce the risk of pooling.
What steps should I take to clean the installation area before mounting new gutters?
Remove all debris, old brackets, and screws from the area where the gutters will be installed. Ensure the surface is smooth and clear to create a secure foundation for your new gutters.
How can I test my new gutters for leaks after installation?
Apply a professional-grade sealant to all joints and connections to prevent leaks. After sealing, simulate rainfall using a garden hose to check for water flow issues and areas that may need additional sealing.
What common mistakes should I avoid during gutter installation?
Avoid spacing gutter hangers more than 30 inches apart, as this can lead to sagging. Additionally, ensure each gutter section has a consistent slope toward the downspouts to promote proper drainage.
