
TL;DR:
- Regular gutter inspections protect properties from water damage and structural issues caused by unnoticed failures.
- Homeowners should use proper tools, follow a systematic inspection sequence, and document problems for accurate repairs.
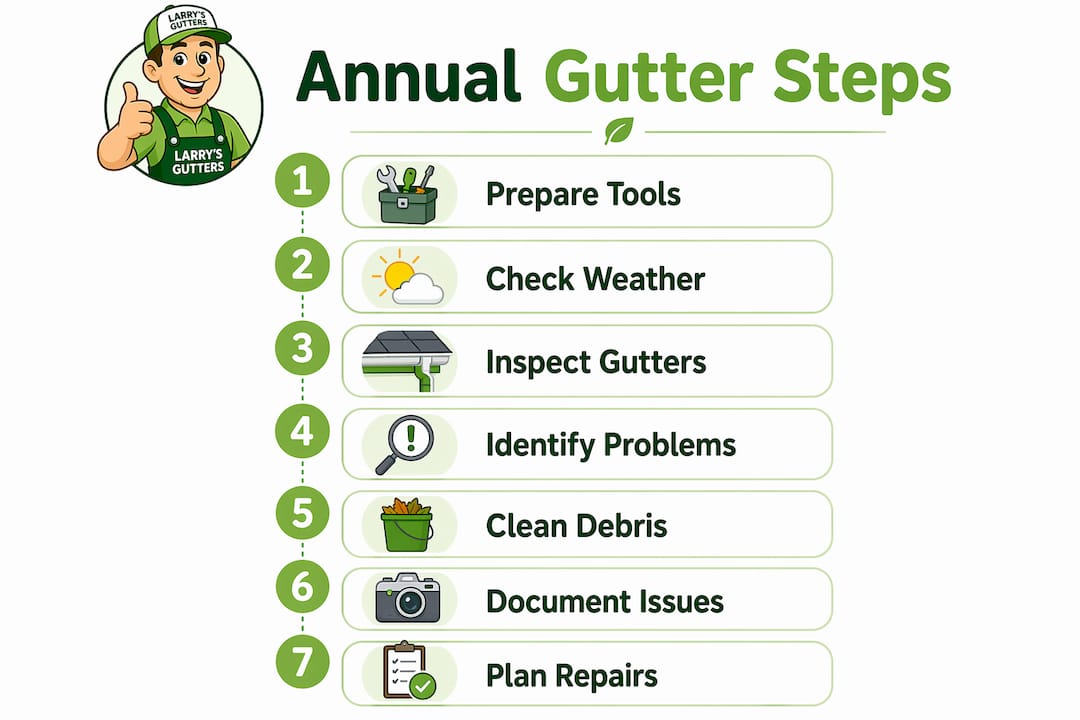
Annual gutter inspection steps are the systematic tasks every homeowner and property manager must complete to protect their property from water damage, foundation erosion, and costly structural repairs. Gutters fail quietly. By the time you notice water staining on your fascia or pooling near your foundation, the damage is already done. This guide covers the tools you need, the exact steps to follow, how to handle common problems, and when to schedule your checks. A proper gutter assessment takes 30–45 minutes and costs far less than the repairs neglect causes.
What tools and preparations do you need before starting?
The right tools make a gutter inspection safe and thorough. Skipping preparation is the most common reason homeowners miss problems or get hurt. Gather everything before you climb a single rung.
Essential tools for a complete inspection:
- Stable extension ladder with rubber feet and a standoff arm to keep it away from the gutter channel
- Work gloves (thick rubber or leather) to protect against sharp metal edges and debris
- Garden hose with a spray nozzle to flush gutters and test drainage
- Gutter scoop or small plastic trowel for debris removal
- Flashlight to check inside downspouts and shaded gutter sections
- Plumber’s snake to clear stubborn downspout clogs
- Bucket or tarp to collect debris without scattering it across the yard
Safety guidelines before you start:
- Place the ladder on firm, level ground. Never lean it against the gutter itself.
- Ask a spotter to hold the base if you are working above one story.
- Wear non-slip shoes and avoid inspecting after rain when surfaces are wet.
- Never reach more than an arm’s length to either side while on the ladder. Move the ladder instead.
Pro Tip: Check the weather forecast before you start. Wet gutters and wet ladder rungs are a dangerous combination. Pick a dry day with good daylight so you can see discoloration, rust, and hairline cracks clearly.
| Tool | Purpose |
|---|---|
| Extension ladder | Safe access to gutters at roof height |
| Work gloves | Protection from sharp edges and debris |
| Garden hose | Flush test for drainage and leak detection |
| Gutter scoop | Manual debris removal |
| Flashlight | Inspect dark sections and downspout interiors |
| Plumber’s snake | Clear deep downspout blockages |
What are the annual gutter inspection steps for full functionality?
A thorough gutter check, known in the trades as a gutter condition assessment, follows a specific sequence. Skipping steps or doing them out of order causes you to miss problems or create new ones.
-
Ground-level visual scan. Walk the perimeter of your home and look up at the gutters. Check for obvious sagging, sections pulling away from the fascia, and visible debris overflow. This takes two minutes and tells you where to focus.
-
Clear debris from the gutter channel. Start at the downspout end and work outward toward the closed end of the run. Debris removal from the downspout end prevents you from pushing leaves and compacted material into the vertical pipe, where it becomes much harder to clear.
-
Flush with a garden hose. Run water from the closed end toward the downspout. Watch the flow rate. Slow drainage or standing water after flushing signals a partial clog or incorrect slope.
-
Check gutter pitch. Proper gutter slope is 1/4 inch per 10 feet of run toward the downspout. A level or back-pitched gutter holds water, which accelerates corrosion and attracts mosquitoes. Use a level or simply watch where the flushed water pools.
-
Inspect fasteners and hangers. Push up gently on the gutter channel. If it flexes or drops, the spike or hidden hanger behind it is loose or failed. Loose hangers cause sagging and eventually pull the gutter away from the fascia board.
-
Examine seams, end caps, and joints. Look for gaps, cracks, or dried sealant pulling away from metal. These are the most common leak points. Run your finger along each seam after flushing to feel for drips.
-
Check for rust, holes, and cracks. Small rust spots are treatable. Large rust patches or holes mean that section needs replacement. Aluminum gutters rarely rust, but steel and older painted gutters are vulnerable.
-
Verify downspout discharge distance. Downspouts must discharge water at least 4–6 feet from the foundation. Shorter discharge routes water directly toward your slab or footings, causing erosion and potential flooding.
-
Inspect fascia and soffit boards. Press the wood behind and below the gutter with your thumb. Soft or spongy wood means water has been leaking behind the gutter for some time. This repair goes beyond gutters and may require a carpenter.
-
Check gutter guards if installed. Micro-mesh gutter guards still require annual inspection because fine debris accumulates on top of the mesh and blocks water entry during heavy rain. Rinse the surface and check for dents or displaced sections. You can find more detail on guard upkeep in this guide to maintaining gutter guards.
Pro Tip: Photograph every problem you find before you fix it. Date the photos on your phone. This creates a condition record that helps contractors give accurate quotes and supports insurance claims after storm damage.
How do you handle common gutter problems found during inspections?

DIY visual inspections catch obvious debris and sagging but often miss subtle seam degradation or hidden fastener failure. Knowing what to fix yourself and when to call a professional saves both time and money.
Common problems and practical fixes:
- Clogged downspouts. Insert a plumber’s snake from the bottom opening and work upward. If that fails, disconnect the downspout elbow at the base and flush from the top with a garden hose at full pressure.
- Sagging gutters. Tighten existing hanger screws first. If the wood behind them is stripped out, replace the hanger with a longer screw or install a new hidden hanger bracket two inches from the original.
- Leaking seams and end caps. Dry the area completely, then apply a bead of gutter sealant (butyl rubber or silicone rated for metal) along the inside of the joint. Smooth it with a gloved finger and let it cure 24 hours before testing.
- Rust spots and small holes. Sand the rust back to bare metal, apply a rust-inhibiting primer, then patch with a gutter repair kit or sheet metal patch bonded with roofing cement.
- Incorrect slope. Loosen the hanger screws, adjust the gutter angle until water flows freely toward the downspout, then re-tighten. A string line from the high end to the downspout outlet helps you set the correct pitch.
- Short downspout discharge. Add a downspout extension or flexible elbow to push water further from the foundation. Splash blocks also help redirect flow away from the slab. For a full walkthrough, see these downspout installation steps.
Pro Tip: Never flush a clogged gutter from the top first. Forcing water into a packed downspout compacts the debris into a dense plug that is far harder to clear than the original loose clog. Always start from the bottom.
Call a professional when you find rotted fascia boards, gutters pulling away from the roof deck, or multiple sections with holes and heavy rust. Replacing one section costs far less than repairing the water damage that follows if you delay.
When and how often should you inspect your gutters?
Gutters need inspection at least twice per year, with additional checks after major weather events. Twice yearly is the minimum. Homes under heavy tree cover or in storm-prone regions like Central Florida need more frequent attention.
Spring inspection addresses winter damage from ice expansion and freeze-thaw cycles. Fall inspection clears leaf buildup before the first freeze locks debris in place. Both windows are critical, and skipping either one creates compounding problems.
Post-storm checks follow a different logic. Inspect within 24–48 hours after heavy rain or hail to catch displaced sections, new clogs, and impact damage before the next rain event makes it worse. Steps for post-storm gutter checks are simpler than a full annual assessment. Focus on visible displacement, debris overflow, and downspout blockages. Document everything with photos before you touch anything.
| Inspection type | Timing | Primary focus |
|---|---|---|
| Spring annual | march to april | Ice damage, winter debris, loose fasteners |
| Fall annual | october to november | Leaf buildup, seam condition, slope check |
| Post-storm check | Within 24–48 hours | Displacement, clogs, impact damage |
| High tree coverage | Every 3–4 months | Debris accumulation, guard performance |
Pro Tip: Keep a simple maintenance log. A notes app on your phone works fine. Record the date, what you found, and what you fixed. This log becomes valuable when you sell the property or file an insurance claim.
Your location and tree coverage directly affect how often gutters require regular assessment. A home surrounded by pine trees in Gainesville, FL needs checks every three months. A home on an open lot may be fine with twice yearly. Match your schedule to your actual conditions, not a generic calendar. This gutter cleaning frequency guide breaks down the right schedule by situation.
Key Takeaways
Annual gutter inspections require the right tools, a methodical sequence, and at least two scheduled checks per year to prevent water damage from compounding into structural repairs.
| Point | Details |
|---|---|
| Inspect twice yearly at minimum | Schedule checks in spring and fall, plus within 48 hours after major storms. |
| Start debris removal from the downspout end | Working outward prevents pushing clogs deeper into vertical pipes. |
| Verify slope and discharge distance | Gutters need 1/4 inch drop per 10 feet; downspouts must discharge 4–6 feet from the foundation. |
| Document every problem with photos | Dated photos support insurance claims and help contractors give accurate repair quotes. |
| Call a professional for rotted fascia or widespread rust | Structural damage behind gutters requires more than a DIY sealant fix. |
What I’ve learned after years of watching gutters fail
Most homeowners treat gutter inspection as optional. They do it once, find nothing alarming, and then skip it for three years. That pattern is exactly how a $15 tube of sealant turns into a $3,000 fascia replacement.
The cost difference between regular maintenance and neglect-driven structural repairs is not marginal. It is dramatic. A twice-yearly inspection takes under an hour. The repairs it prevents can take weeks and thousands of dollars.
The other mistake I see constantly is homeowners flushing gutters from the wrong end. They start at the high end and push everything toward the downspout, compacting debris into a dense plug. Then they wonder why the downspout is blocked solid. The fix is simple: always start at the downspout end and work outward.
Photo documentation is the habit that separates prepared homeowners from reactive ones. A dated photo of a hairline crack at a seam costs nothing. That same crack, undocumented and unfixed, becomes a water damage claim where the insurance adjuster has no baseline to work from. Take the photos every single time.
— Larrysgutters
How Larrysgutters supports your gutter maintenance in Central Florida
Central Florida’s heavy rainfall and storm season put gutters under serious stress. Larrysgutters provides professional inspection, cleaning, and repair services across multiple Florida counties, handling everything from debris removal to full gutter replacement.

If your annual inspection reveals sagging sections, leaking seams, or gutters that are simply past their service life, Larrysgutters offers seamless gutter installation as a long-term solution. Seamless gutters eliminate the seam failures that cause most residential leaks. The team also installs gutter guards to reduce cleaning frequency and handles downspout extensions to protect your foundation. Request a free quote directly through the Larrysgutters website and get a professional assessment of your current system.
FAQ
How long does an annual gutter inspection take?
A professional gutter inspection typically takes 30–45 minutes depending on home size and roof access. A thorough DIY inspection runs about the same time when you follow a complete checklist.
What is the correct gutter slope for proper drainage?
Gutters need a slope of 1/4 inch per 10 feet toward the downspout. Less slope causes water to pool, which accelerates corrosion and attracts pests.
Do gutter guards eliminate the need for annual inspections?
No. Micro-mesh gutter guards still require yearly inspection because fine debris builds up on the mesh surface and blocks water flow during heavy rain. Rinse the mesh and check for damage each year.
How far should downspouts discharge from the foundation?
Downspouts must direct water at least 4–6 feet from the home’s foundation to prevent erosion and water intrusion. Use downspout extensions or splash blocks to reach that distance if your current setup falls short.
When should I call a professional instead of doing it myself?
Call a professional when you find rotted fascia boards, gutters pulling away from the roof deck, or multiple sections with heavy rust or holes. These repairs go beyond sealant and require tools and expertise that most homeowners do not have on hand.