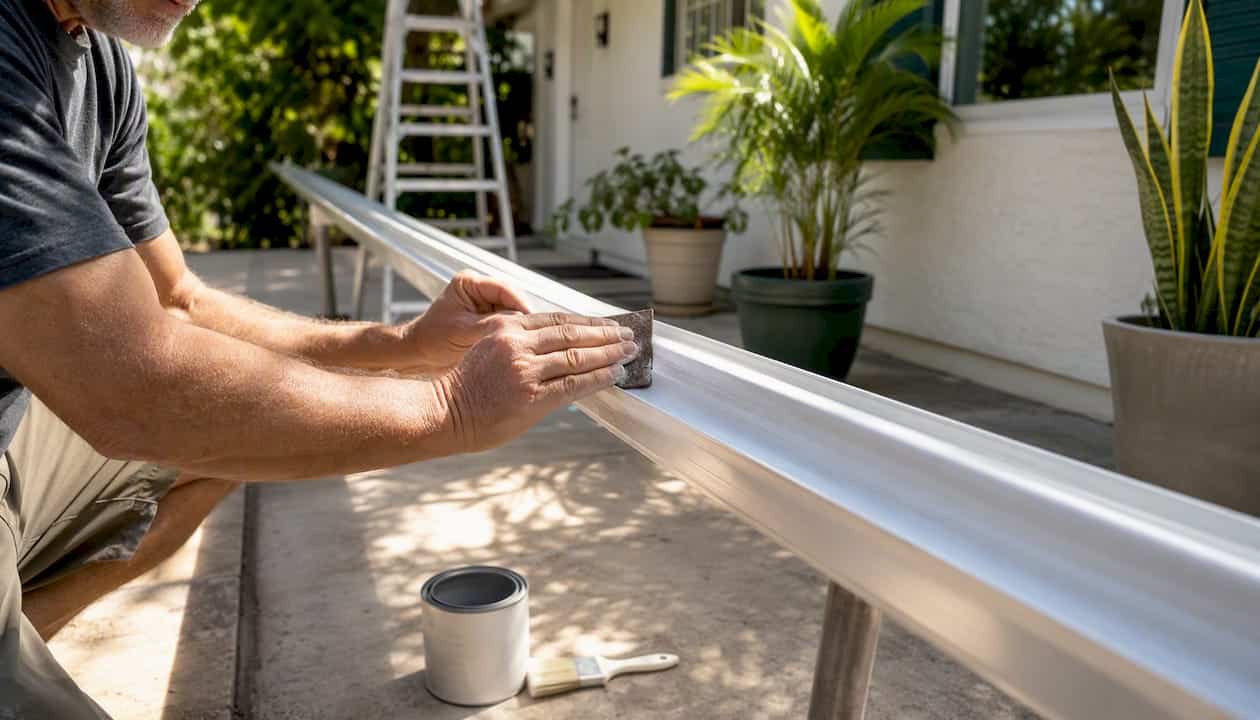
Yes, you can paint aluminum gutters successfully — but only if you nail the prep first. Skip the cleaning, scuff-sanding, or primer, and the paint will peel within a season. Get those steps right, and a properly painted finish holds up for years.
Before you grab a brush, run through this checklist:
- Test the old finish: press tape firmly to the surface, pull it fast, and check how much paint lifts
- Clean off all dirt, oxidation, and chalking residue
- Scuff-sand or chemically etch the surface for adhesion
- Apply an aluminum-compatible bonding primer or a direct-to-metal (DTM) acrylic
- Topcoat with a 100% acrylic exterior paint rated for metal
Safety first: Use a ladder stabilizer and never work alone on long gutter runs. For homes built before 1978, test for lead paint before sanding anything. Dry-sanding lead paint creates hazardous dust — stop and call a certified contractor if the test comes back positive.
From first clean to final dry coat, budget a full weekend for the project to allow proper drying time between coats.
Key Takeaways
Aluminum gutters take paint well when you clean, scuff, prime with an aluminum-compatible product, and apply two thin acrylic topcoats with a “laying off” pass on each coat.
| Point | Details |
|---|---|
| Prep is the deciding factor | Clean, degrease, and scuff-sand before any primer goes on — skipping this causes peeling. |
| Use the right primer system | Choose a DTM acrylic or a bonding primer rated for non-ferrous metal; avoid ammonia-containing products. |
| Two thin topcoats beat one thick one | Apply 100% acrylic exterior paint in two coats, laying off each one for a uniform film. |
| Painted finish lasts 5–10 years | Climate and prep quality determine where in that range your finish lands. |
| Lead-test before sanding older homes | Homes built before 1978 require a lead-paint test before any dry-sanding or scraping. |
Table of Contents
- What do you need to paint aluminum gutters?
- How to prepare aluminum gutters so paint will stick
- Which primer and topcoat work best on aluminum gutters?
- How to apply primer and paint for a lasting finish
- Why does paint fail on gutters, and how do you fix it?
- How long does painted aluminum last, and how do you maintain it?
- Is DIY painting worth it, or should you call a pro?
- Sources
What do you need to paint aluminum gutters?
Getting your materials together before you start saves you a mid-job hardware run. Here’s what to have on hand.
Tools:
- Ladder with a stabilizer (never lean a ladder directly against the gutter)
- Garden hose or pressure washer
- Stiff scrub brushes and a bucket
- Sanding pads, 120–220 grit
- Tack cloths to remove dust before priming
- Masking tape and plastic sheeting to protect siding and trim
- 2–3 inch angled brushes and a 4-inch mini-roller
- HVLP or airless sprayer (optional but faster on long runs)
- Drop cloths
Products:
- Aluminum-compatible bonding primer or a DTM acrylic primer/paint
- 100% acrylic exterior topcoat in satin or semi-gloss, or a DTM metal paint system
- TSP (trisodium phosphate) or a no-ammonia degreaser for cleaning
Check whether your gutters are actually aluminum before buying anything: hold a magnet to the surface. Aluminum won’t attract it. Vinyl gutters need a vinyl-safe paint, not a metal primer.
Important: Ammonia in some primers and paints can react with oxidized aluminum and cause wrinkling or blistering. Read every label and choose products marked “ammonia-free” or “safe for non-ferrous metals.”
Safety gear:
- N95 respirator (mandatory when spraying or sanding primer)
- Safety glasses
- Chemical-resistant gloves
Pro Tip: Buy a lead-paint test kit at any hardware store if your home was built before 1978. They cost a few dollars and take five minutes. That five minutes could save you from a serious health hazard.
How to prepare aluminum gutters so paint will stick
Prep is where most DIY paint jobs succeed or fail. Cleaning off dirt, removing oxidation, and scuff-sanding the glossy factory finish are the steps homeowners most often skip — and skipping them is almost always why paint peels.
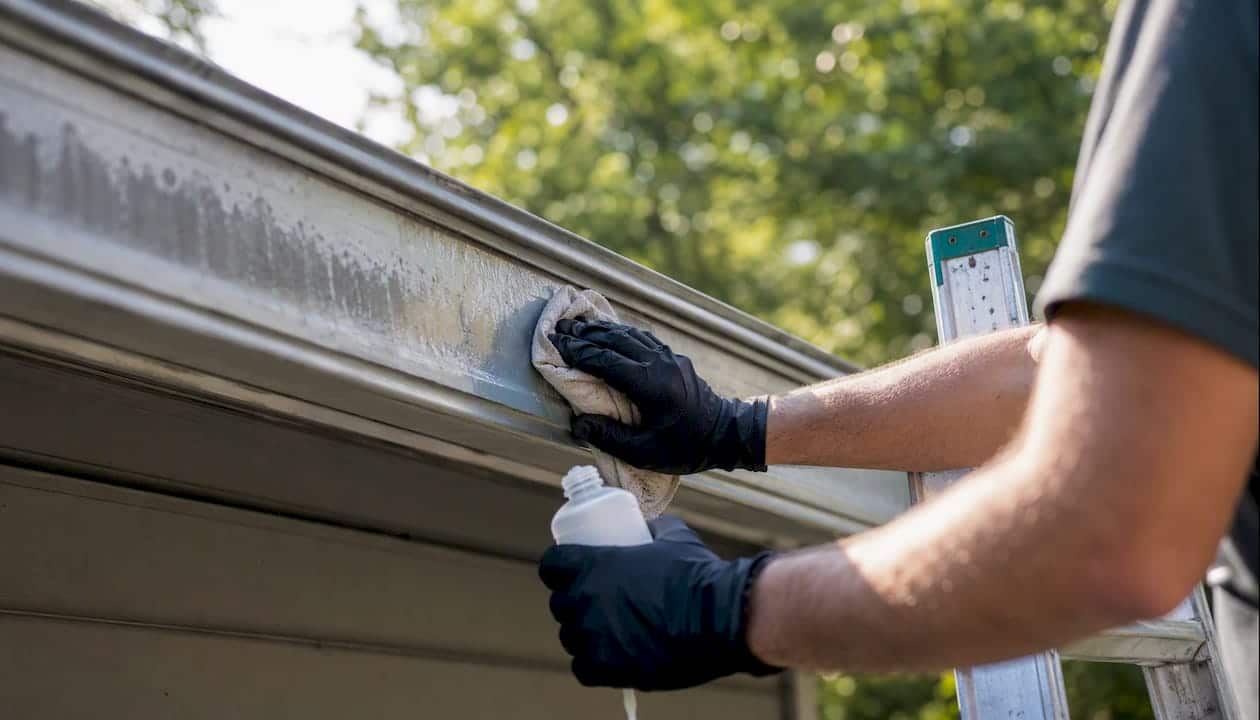
Remove or paint in place? For most homeowners, painting in place is the right call. Removing gutters makes sense when seams are failing, dents are severe, or you’re doing a whole-house color change and want factory-quality results. Removal adds 2–3 hours of work but gives you full access to every surface. If the gutters are older than 20 years or show heavy oxidation, removal is worth considering.
Step-by-step preparation:
- Clear debris. Remove leaves, dirt, and any standing water from inside the gutter channel. A thorough gutter cleaning before you paint prevents contamination under the new finish.
- Degrease. Scrub the exterior surface with TSP or a no-ammonia degreaser. Work in sections, scrubbing firmly with a stiff brush.
- Rinse thoroughly. Flush all cleaner residue with a garden hose. If you used a pressure washer, let the gutters dry for at least 48 hours before continuing.
- Remove loose paint and oxidation. Use 120-grit sanding pads to knock back any flaking paint, chalking, or white oxidation. You don’t need to strip to bare metal everywhere — just get down to a sound, stable surface.
- Scuff the glossy factory finish. Even if the existing finish looks fine, lightly scuff it with 180–220 grit. Paint needs something to grip. A smooth factory enamel is essentially a non-stick surface without this step.
- Wipe down with tack cloths. Remove every trace of sanding dust before priming.
Magnet test: Confirm you’re working with aluminum, not steel. Steel gutters need a rust-inhibiting primer, not a bonding primer for non-ferrous metal.
Lead-paint test: If your home predates 1978, swab the existing paint before sanding. If the test is positive, wet-sand only (never dry-sand), wear an N95 respirator and gloves, and bag all debris for proper disposal. When in doubt, hire a certified lead-safe contractor.
Repair before you prime. Small dents can be tapped out gently with a rubber mallet. Fill holes or cracks with a metal-compatible epoxy filler, let it cure fully, then sand flush. Any steel fasteners showing rust should be wire-brushed and spot-primed with a rust-inhibiting primer before you apply the aluminum primer over the whole run.
Pro Tip: Work in the shade whenever possible. Direct sun heats the metal surface and causes primer and paint to dry too fast, which traps solvent and leads to bubbling.
Which primer and topcoat work best on aluminum gutters?
Two systems work reliably, and the right choice depends on your gutters’ current condition.
Option 1: DTM acrylic system. A direct-to-metal acrylic paint bonds to clean, scuffed aluminum without a separate primer coat. DTM acrylic or a 100% acrylic exterior paint over a metal primer are the two reliable systems for metal gutters, and DTM is the simpler path when the substrate is in decent shape. One product, fewer compatibility questions.
Use a bonding primer or self-etching primer labeled for non-ferrous metal, then follow with a 100% acrylic exterior latex topcoat. Acrylic stays flexible through temperature swings and resists UV far better than oil-based alternatives. In climates with freeze-thaw cycles, premium 100% acrylic latex over a bonding primer avoids the brittleness problems that oil-based products develop over time.
What to avoid:
- Any primer or paint containing ammonia on oxidized aluminum surfaces
- Oil-based paints in climates with significant temperature swings
- Latex paints not rated for exterior metal use
Sheen: Choose satin or semi-gloss. Both shed water, resist mildew, and are easier to wipe clean than flat finishes. Flat paint on gutters traps dirt and shows wear faster.
Pre-painted factory enamel: If your gutters still have their original baked-on finish, scuff-sand it lightly and use an adhesion-promoting primer or a DTM acrylic. The factory enamel is hard and slick — a bonding primer gives the topcoat something to hold onto.
What labels to look for on cans:
- “For non-ferrous metals” or “aluminum compatible”
- “Ammonia-free”
- “100% acrylic” or “DTM acrylic”
- “Exterior use” with a temperature application range
Pro Tip: Buy a small test quart of your chosen primer and topcoat, apply it to a 12-inch section of gutter, and check adhesion after 72 hours before committing to the full run. A failed test patch costs you $10 and an afternoon. A failed full-house paint job costs you the whole weekend and the materials.
How to apply primer and paint for a lasting finish
Good prep gets you to this point. Good application keeps the finish on the gutter for years.
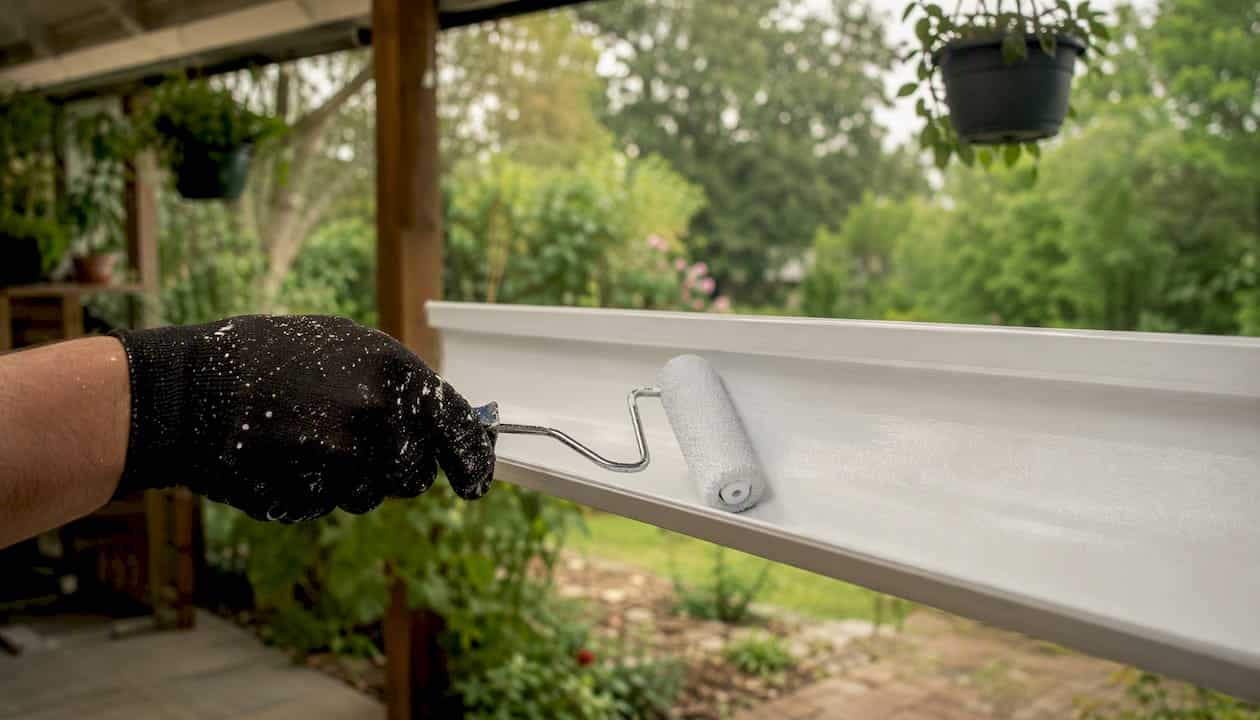
- Apply primer in thin, even coats. Whether you’re brushing, rolling, or spraying, thin coats cure faster and bond better than thick ones. For brush or roller application, work the primer into seams and corners first, then roll the flat faces. For spray application, hold the nozzle 10–12 inches from the surface and keep the gun moving to avoid runs.
- Let primer cure fully. Check the product label — most metal primers need at least 2–4 hours before topcoating, and some need 24 hours. Don’t rush this. Topcoating over tacky primer is one of the most common causes of wrinkling.
- Apply the first topcoat. Work in sections of 4–6 feet. Apply the paint in overlapping strokes, maintaining a wet edge to avoid lap marks.
- “Lay off” each section before moving on. This is the technique that separates a pro finish from a DIY one: after loading a section with paint, take a nearly dry brush and make one final, light pass along the length of the gutter with minimal pressure. This “laying off” technique smooths brush marks and equalizes film thickness, producing a more uniform, durable surface. Don’t skip it.
- Let the first topcoat dry. Most 100% acrylic exterior paints are recoatable in 2–4 hours at 70°F with low humidity. Cooler temperatures or higher humidity extend that window significantly.
- Apply the second topcoat. Two thin coats always outperform one thick coat. The second coat fills any thin spots and gives you the full film thickness the paint needs to perform.
- Clean up. Rinse brushes and rollers with water immediately after use. Seal leftover paint tightly and store it upright in a cool, dry place. Dispose of rinsate according to your local municipality’s guidelines.
Avoid painting in direct sun or high wind.
Pro Tip: When spraying, always back-brush or back-roll immediately after the spray pass. The sprayer gets paint on fast; the brush or roller works it into the surface for real adhesion. This combination gives you speed and bond strength.
Why does paint fail on gutters, and how do you fix it?
Paint failure on aluminum gutters almost always traces back to one of three causes.
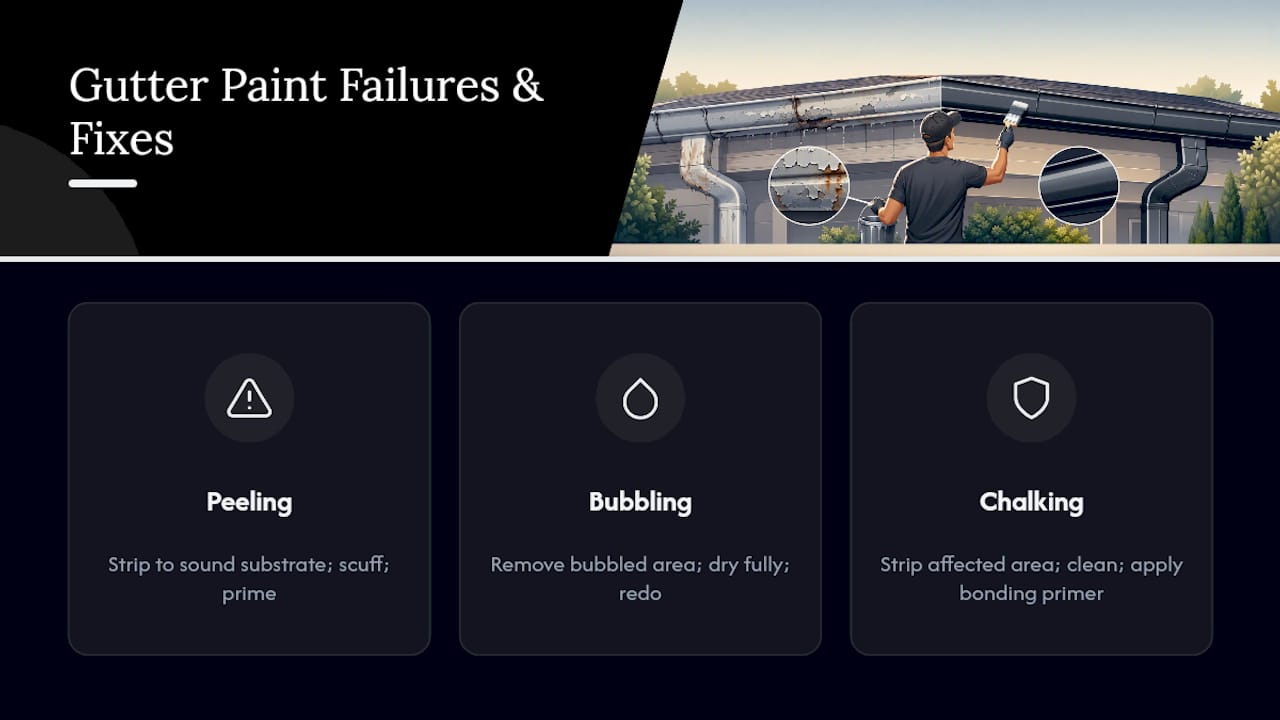
Peeling: The most common failure, and almost always a prep or primer problem. The fix is to strip back to sound substrate, scuff the surface, and start over with an appropriate primer. Spot-peeling can be feather-sanded at the edges, spot-primed, and spot-topcoated — but only if the surrounding paint is still firmly bonded.
Bubbling: Usually caused by painting over a damp surface or in direct sun on hot metal. The paint skins over before the solvent underneath can escape. Remove the bubbled area completely, let the surface dry fully, and redo those sections properly.
Chalking and poor adhesion: White, powdery residue on the surface means oxidation wasn’t fully removed before painting. The paint bonded to the chalk layer, not the metal. Strip the affected area, clean aggressively, and apply a bonding primer rated for aluminum before repainting.
When to stop repainting and replace instead. Factory-baked enamel finishes on seamless gutters are engineered to last decades, while repainted gutters in harsh climates often need attention every few years. If you’ve already repainted once and the finish is failing again, or if the gutters show structural damage, corrosion at the seams, or persistent leaks, the math shifts toward replacement. A new seamless gutter system with a factory finish will outlast repeated repaints and cost less over a 10-year horizon. Larrysgutters can walk you through gutter replacement options for Florida homeowners if you’re at that decision point.
Quick spot repair: Sand the damaged area with 180-grit, feather the edges into the surrounding paint, wipe with a tack cloth, apply a thin coat of primer, let it cure, then apply one or two thin topcoats. Blend the edges carefully to minimize the visible patch line.
How long does painted aluminum last, and how do you maintain it?
Full cure takes 7–14 days, during which the film is still hardening and vulnerable to impact and heavy rain.
With proper prep, cleaning, sanding, and priming, aluminum gutters hold paint well for years. In moderate climates, a well-executed paint job typically lasts 5–10 years. In climates with extreme UV, heavy rainfall, or significant thermal cycling, that range compresses. Florida’s combination of intense UV and frequent rain puts real stress on any painted finish, which is why prep quality matters more here than in a mild northern climate.
Annual maintenance checklist:
- Clean gutters at least twice a year to remove debris that holds moisture against the painted surface
- Inspect the finish after any major storm
- Touch up small chips and scratches immediately — small chips left unrepaired expand into larger adhesion failures
- Trim overhanging branches that scrape the gutter surface or deposit debris
- Check seams and end caps for any paint lifting at the edges
For a full seasonal maintenance schedule for seamless gutters, the routine is straightforward and adds years to any finish.
When to plan a repaint vs. replace: If the paint is chalking, peeling in multiple spots, or the gutters are older than 15–20 years, get a professional assessment before investing in another paint job. Repainting aging gutters with failing seams is money spent on borrowed time.
Installer insights: when should you remove gutters before painting?
Most homeowners paint in place, and for gutters in decent condition, that’s the right call. But experienced installers pull gutters off the house in a few specific situations.
Remove when:
- Seams are separating or show sealant failure
- Dents are deep enough that the gutter profile is distorted
- Oxidation is severe on all four sides, including the back face against the fascia
- You’re doing a full color change and want consistent coverage on every surface
How pros handle removed gutters: Each section gets labeled with its position before removal. Gutters are laid on sawhorses or a clean work surface, cleaned and sanded, then primed and painted flat. Flat bench painting eliminates drips, gives full access to seams and end caps, and lets you apply a more consistent film thickness than ladder work allows.
- Apply primer to all surfaces, including the back face, before reinstalling
- Let each coat cure fully before flipping the section to paint the other side
- Reinstall only after the topcoat has cured for at least 24 hours
Two rules installers use that most homeowners don’t:
- Never apply paint thicker than the manufacturer’s recommended wet-film thickness in a single pass. Thick coats trap solvent and sag.
- Always “lay off” — that final light brush pass after loading paint onto a section — on every coat, not just the last one.
Pro Tip: Label each gutter section with masking tape and a marker before you remove it. Aluminum gutters look identical until you try to reinstall them and realize the mitered corner cut was for the left side, not the right.
Is DIY painting worth it, or should you call a pro?
DIY makes sense when your gutters are structurally sound, you have safe ladder access, and the existing finish is chalking or faded rather than actively peeling or failing at seams. A homeowner comfortable on a ladder with a few hours across two days can get a finish that holds up well.
Hire a pro when the gutters are damaged, access is difficult (two-story or steep-pitch rooflines), or the existing paint has failed more than once. Repeated repainting on gutters that keep failing is a signal the substrate or the system isn’t right — a professional can diagnose that faster than a second DIY attempt.
Before committing to a full repaint, do a test patch: clean and prime a 12-inch section, apply one topcoat, and check adhesion after 72 hours. If the paint lifts easily, the substrate needs more work or the gutters need replacement.
Properly painted aluminum gutters hold up for years with the right prep. But when the gutters themselves are past their useful life, no amount of prep changes that math. If you’re in Central Florida and your gutters are showing signs of structural wear, Larry’s Gutters offers seamless gutter installation with factory-baked finishes that outlast any repaint job.

Sources
These are the primary references used to build this guide. Each one covers a specific aspect of aluminum gutter painting worth verifying directly.
- Can You Paint Gutters? The Smart Guide To Make It Easy – FineHomeKeeping
- Aluminum gutters can be painted – Ask the Builder
- Best Paint For Gutters (Metal + Vinyl Guide)
- Can You Paint Gutters in Reno? Your 2026 Complete Guide | Gutter Brothers Reno & Sparks NV
- Best Paint For Gutters and Fascia in Milwaukee, WI – SSPaintingAndRestoration
