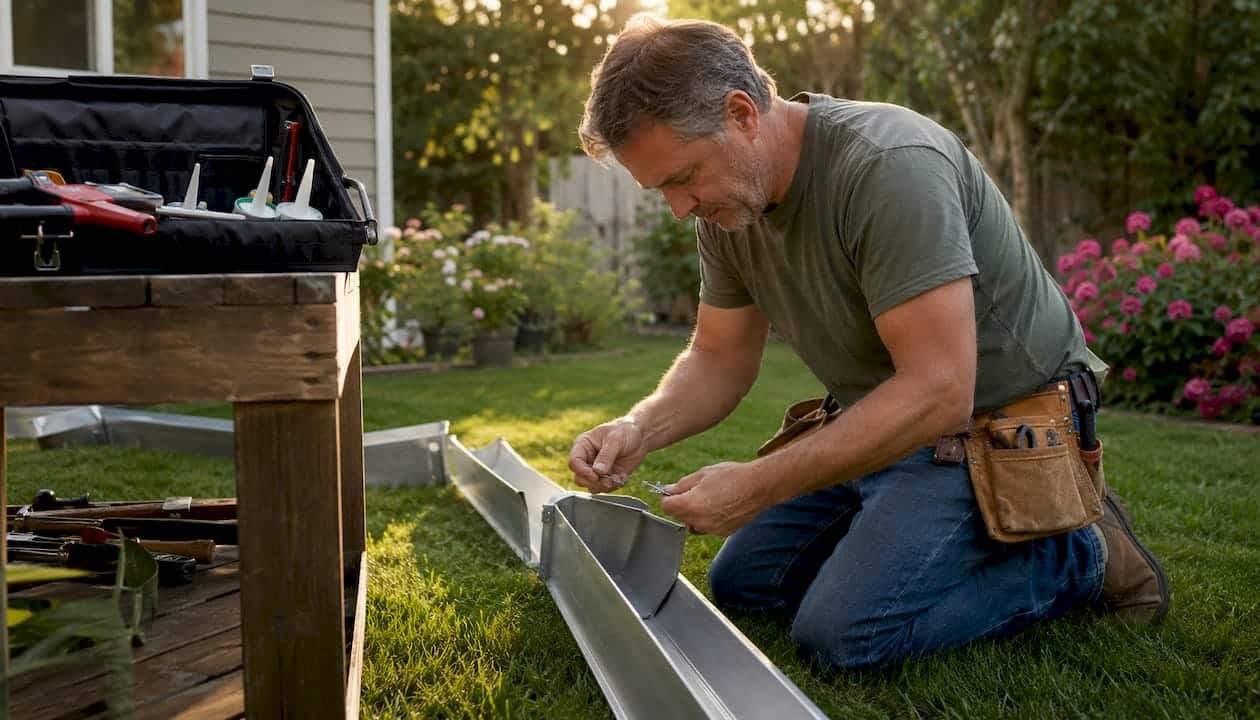
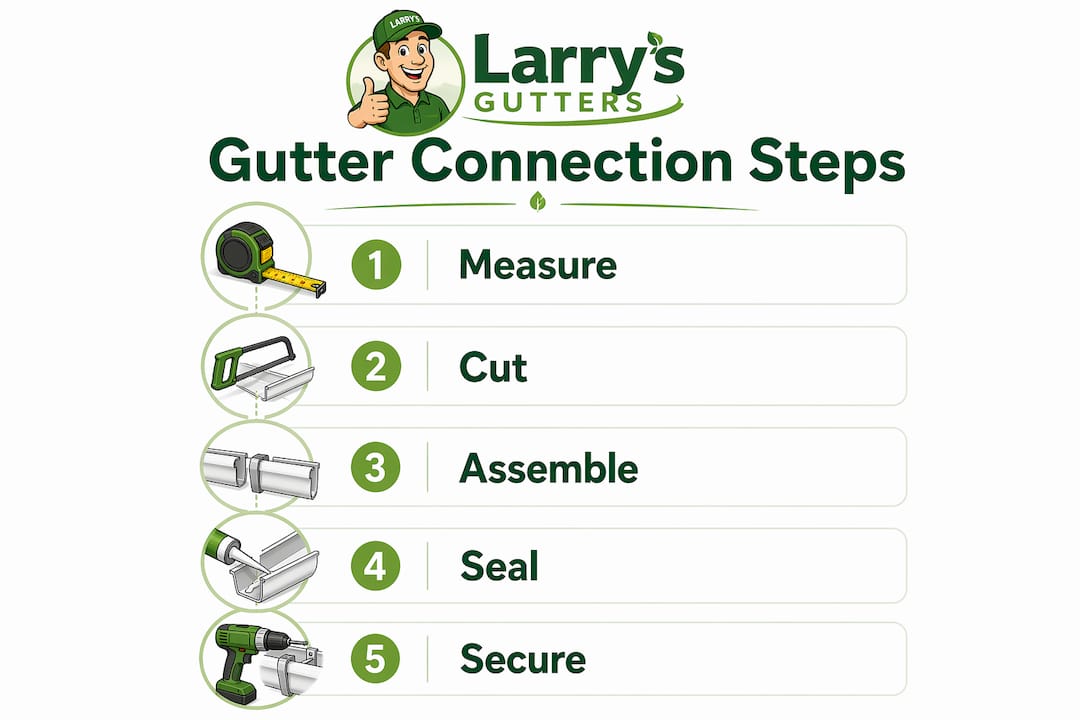
Connecting gutter sections correctly comes down to three things: a proper overlap, a double bead of sealant, and rivets placed only on the sides. Get those right and your joints will outlast the gutters themselves. The standard method uses an overlap where the upstream section slides inside the downstream one with about a 6-inch overlap, with sealant applied before and after fastening. You’ll need a rivet gun, tin snips, a sealant gun loaded with gutter-grade sealant, a drill, and a tape measure. Here’s the full process at a glance:
What you need:
- Rivet gun and 1/8-inch aluminum pop rivets
- Tin snips or aviation snips
- Gutter sealant (such as OSI GS121 clear gutter sealant)
- Drill with 1/8-inch bit
- Tape measure and chalk line
- Ladder and a second person for hanging
Connection steps in brief:
- Trim the outer lip of the downstream section to create a flap for the upstream section to slide into flush.
- Apply two heavy beads of sealant between the overlapping layers before sliding them together.
- Drill four pilot holes through the overlap and pop rivets through the front, back, and sides only.
- Run a final interior bead of sealant along the inside seam after fastening.
- Verify slope: 1/4 inch per 10 feet toward each downspout.
Table of Contents
- What components and tools do you need for gutter section installation?
- How to connect gutter sections step by step
- How to connect downspout sections effectively
- Common mistakes to avoid and expert tips for durable connections
- When DIY isn’t the right call, Larrysgutters has you covered
- Key Takeaways
What components and tools do you need for gutter section installation?
Knowing what you’re working with before you climb a ladder saves real time. A standard sectional gutter system uses 5-inch aluminum K-style sections in 10-foot lengths, though vinyl and steel versions follow the same assembly logic. Each run includes end caps (left and right), miter corners for turns, downspout drop outlets, and hidden hangers spaced every 24 inches along the fascia.
Key components:
- Gutter sections: Aluminum, vinyl, or steel. Match material and profile to your existing system. Aluminum is the most common DIY choice because it’s lightweight, doesn’t rust, and cuts cleanly with tin snips.
- End caps: Seal the closed ends of each run. They go on with sealant and rivets before the section goes up.
- Miter corners: Inside and outside corners for turns. Treat them like any other joint: sealant before assembly, a second bead after.
- Downspout drop outlets: The fitting that bridges the gutter trough to the downspout pipe. This is the most leak-prone joint in the system, so don’t rush it.
- Hidden hangers: Clip under the front lip and screw through the back wall into the fascia. One every 24 inches keeps the run from sagging.
Tools you’ll need:
- Rivet gun and pop rivets
- Tin snips or aviation snips
- Sealant gun
- Drill with 1/8-inch and 3/8-inch bits
- Tape measure, chalk line, and level
- Hacksaw (for cleaner cuts on steel or thicker vinyl)
For gutter system components specific to Florida homes, the material choice matters more than most guides admit. Aluminum handles Florida’s heat cycles well. Vinyl can warp under sustained high temperatures, which makes joints loosen faster.
How to connect gutter sections step by step
Joining gutter sections on the ground is far easier and more precise than doing it on a ladder. Set up sawhorses, lay out your sections, and do all the cutting, sealing, and riveting before anything goes up on the fascia.
- Measure and cut sections to length. Mark your cut line with a Sharpie. Use tin snips for aluminum: cut the front lip, bend the section at the score, then finish across the bottom. Keep factory-cut ends facing outward where they’ll be visible.
- Trim the downstream section’s outer lip. Mark 6 inches back from the cut end of the downstream piece. Cut the outer lip off that 6-inch flap with snips so the upstream section can slide in flush. Without this trim, the overlap will sit proud and gap at the seam.
- Apply the first sealant bead. Run two heavy, continuous beads of gutter sealant along the inside of the trimmed flap, covering the full 6-inch overlap zone. Don’t skimp here. A custom-lapped and sealed joint done this way is often more reliable than a store-bought splice plate.
- Slide the sections together. Push the upstream section into the downstream one until the overlap closes up flush. Press firmly so the sealant spreads evenly between the layers.
- Drill pilot holes and rivet. Drill four 1/8-inch holes through the overlap: two along the front lip and two along the back wall. Never place rivets at the bottom of the gutter trough. Water collects there, and a rivet hole in that zone will leak. Pop a rivet in each pilot hole.
- Apply the final interior bead. Run one more continuous bead of sealant along the inside seam from inside the gutter. Smooth it flat with a wet finger so there are no gaps.
- Check slope before hanging. Snap a chalk line along the fascia sloping 1/4 inch per 10 feet toward the downspout. This slope is what keeps water moving instead of pooling at your joints.
Pro Tip: Do all your splicing, end cap installation, and outlet hole cutting on the ground. Trying to rivet two sections together while balancing on a ladder is how joints end up crooked and leaky.

How to connect downspout sections effectively
The downspout assembly starts at the drop outlet in the gutter bottom and works its way down the wall. Each connection point follows the same rule: crimped end pointing down, sealant at every joint, two screws per connection.
- Cut the outlet hole. Position the drop outlet on the gutter bottom, typically 4–6 inches from the end cap. Trace the inner ring, drill a 3/8-inch starter hole inside the line, then cut along the trace with aviation snips. Test-fit the outlet and trim the hole slightly if needed.
- Seal and rivet the outlet. Apply a continuous bead of sealant around the underside of the drop outlet flange, drop it into the hole, and press it flat. Drill four holes through the flange and pop a rivet in each. Inside the gutter, run a second bead around the entire outlet flange where it meets the gutter floor. For more detail on this step, the downspout installation guide at Larrysgutters walks through each connection point.
- Attach elbows. Slide the first elbow (A-style) onto the drop outlet with the crimped end facing down. Secure with two sheet metal screws. Connect a short bridging section to a second elbow against the wall. Always insert the male end into the female end, and keep female ends facing upward throughout the run.
- Run the vertical downspout. Overlap downspout sections by 2–3 inches with the crimped end pointing downward. Secure each joint with two sheet metal screws on opposite sides.
- Secure to the wall. Attach downspout brackets every 4–6 feet. The seam side of the downspout faces the wall for a cleaner look.
Common mistakes to avoid and expert tips for durable connections
Most gutter leaks trace back to one of four errors: rivets in the gutter bottom, insufficient sealant, wrong slope, or skipped lip trimming. Fix those and the system will hold up through years of heavy rain.
- Never rivet the gutter bottom. Place all fasteners on the front lip, back wall, or sides of the overlap. The bottom is where water sits, and any penetration there will eventually leak.
- Slope is non-negotiable. A run that’s even slightly flat will pool water at every joint. The 1/4-inch-per-10-foot slope standard keeps water moving to the downspout. On runs longer than 20 feet, consider placing the downspout in the middle and sloping from both ends.
- Double-seal every joint. Apply sealant before assembly and again after fastening. This applies to end caps, miter corners, and splice joints equally. Skipping the second bead is the most common cause of slow drip leaks at seams.
- Trim the lip for a flush fit. An untrimmed downstream lip forces the upstream section to sit at an angle, creating a gap that no amount of sealant will permanently fix.
- Account for thermal expansion on long runs. For gutters longer than 20 feet, elastic silicone sealant handles temperature movement better than standard gutter caulk. Rivets on long runs can loosen as the metal expands and contracts through Florida’s heat cycles. Proper structural sealing techniques for metal-to-metal joints confirm that elastic sealants outperform rigid ones wherever movement is expected.
- Test before you walk away. Pour a bucket of water into the high end of the run. Standing water anywhere means a sagging hanger. A drip at a joint means the sealant didn’t close completely. Fix both on the ground if you can.
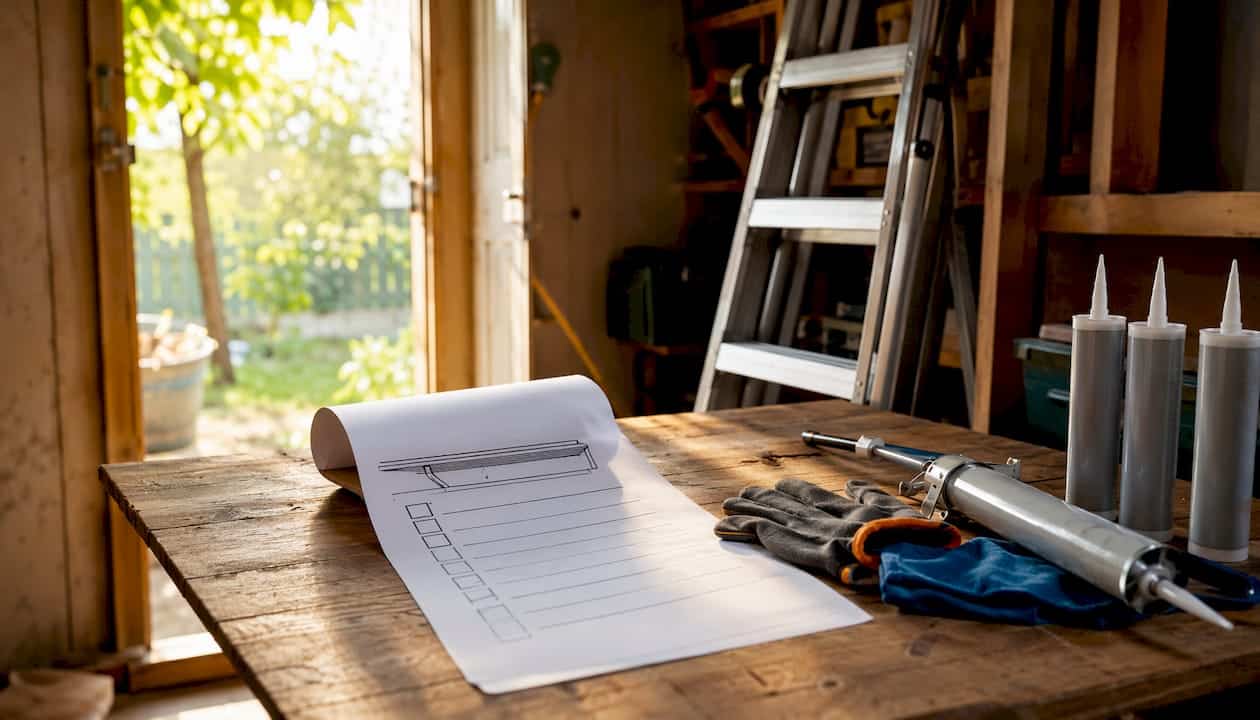
Pro Tip: If you’re replacing a section mid-run rather than installing from scratch, dry-fit everything first and mark your rivet positions with a Sharpie before applying any sealant. Once the sealant goes on, you have limited time to adjust alignment.
For ongoing care after installation, a gutter maintenance checklist specific to Florida’s rainfall patterns will help you catch joint failures before they turn into fascia rot.
When DIY isn’t the right call, Larrysgutters has you covered

Sectional gutter assembly is genuinely manageable for a confident DIYer with the right tools. But if your roofline has multiple corners, a long fascia run, or you’re dealing with Florida’s frequent heavy downpours and want zero margin for error, a professionally installed seamless system removes the splice problem entirely. Seamless gutters are custom-formed on-site to the exact length of each run, which means no overlap joints to seal and no rivets to worry about.
Larry’s Gutters specializes in seamless gutter installation across Central Florida, from Gainesville to Leesburg and throughout the surrounding counties. Every run is cut to fit your home’s exact measurements, installed with correct slope, and backed by local expertise in Florida’s specific weather demands. If you want to skip the ladder work and get a system that won’t need joint repairs in two years, request a free quote from Larrysgutters today.
Key Takeaways
Connecting gutter sections correctly requires a 6-inch trimmed lip on the downstream section for a flush fit, double-applied sealant, and rivets placed only on the front lip and back wall, never the gutter bottom.
| Point | Details |
|---|---|
| Trim 6 inches of the downstream lip for a flush fit | Mark 6 inches from the end and cut the outer lip so the upstream section slides in tightly and gap-free. |
| Double-seal every joint | Apply sealant before assembly and a second interior bead after riveting to prevent slow drip leaks. |
| Never rivet the gutter bottom | Place all fasteners on the front lip or back wall; the bottom is where water collects and leaks start. |
| Maintain 1/4-inch slope per 10 feet | Correct slope keeps water moving toward the downspout and prevents pooling at seams. |
| Larrysgutters offers seamless installation | For Central Florida homeowners who want no splice joints at all, Larrysgutters installs custom-fit seamless gutters on-site. |
