
Heavy rainstorms in Central Florida can turn your yard into a soggy mess and threaten your home’s foundation. For homeowners in Lake, Marion, and Sumter counties, understanding what your house truly needs is the first step to keeping water away for good. This guide walks you through how to choose the ideal gutter system, measure accurately, and spot the signs that your current setup is falling short so you can make upgrades that last.
Table of Contents
- Step 1: Assess Your Home’s Gutter Needs
- Step 2: Measure and Select Custom Gutter Materials
- Step 3: Install and Secure Custom-Fit Gutters
- Step 4: Inspect and Test for Proper Water Flow
Quick Summary
| Key Point | Explanation |
|---|---|
| 1. Assess your gutter needs first | Measure your roof size and current drainage to determine the necessary gutter system for Florida’s climate. |
| 2. Choose appropriate gutter materials | Consider local conditions when selecting materials like Aluminum or Copper for durability and performance under heavy rain. |
| 3. Ensure proper installation practices | Accurately secure gutters and downspouts to avoid leaks and ensure they effectively manage water flow away from your foundation. |
| 4. Test your gutter system after installation | Run a water flow test to check for proper drainage and adjust any issues before they cause damage in severe weather. |
| 5. Document measurements and observations | Keep detailed records of your assessments for professional consultations, which helps prevent costly mistakes in installation. |
Step 1: Assess Your Home’s Gutter Needs
Before installing custom-fit gutters, you need to understand what your home actually requires. This step involves examining your roof size, local rainfall patterns, and current drainage performance to determine the right gutter system for Central Florida’s challenging weather.
Start by measuring your roof’s footprint. Calculate the total roof area that will drain into your gutters by measuring the length and width of each section that slopes toward the gutters. In Central Florida, this measurement matters because heavy summer storms and occasional tropical systems can dump inches of water in hours. Your roof size directly determines how much water your gutters must handle.
Next, assess your home’s current drainage situation. Walk around your foundation and look for signs of water problems:
- Erosion or pooling near the foundation
- Staining on siding or exterior walls below gutters
- Cracks in the foundation or basement moisture
- Gaps between your home and landscaping where water collects
Check your existing gutters if you have them. Look for sagging sections, rust spots, or areas where water overflows during rain. Pay attention to how water flows. Does it pool in certain spots? Does it cascade over the sides? These observations tell you whether your current system is undersized or poorly sloped.
Understanding gutter and downspout sizing is essential for Florida homes. Your gutters need to handle not just average rainfall but the intense downpours typical of the region. Standard five-inch gutters work for many homes, but larger roofs or areas with heavy canopy coverage may need six-inch systems.
Consider your roof’s pitch and any obstacles. Steeper roofs shed water faster, meaning your gutters need larger capacity. Trees overhanging your roof can clog gutters and create water concentration points. Calculate whether debris management will be part of your gutter solution.
Finally, evaluate your downspout placement. Water must drain at least four to six feet away from your foundation to prevent soil saturation and moisture problems. If you have poor drainage around your foundation, you might need additional downspouts or extended leaders.
Custom-fit gutters work when they match your home’s actual water volume and site conditions, not generic sizing standards.
Write down your measurements and observations. You’ll need this information when getting a professional assessment or installing your system. Understanding these factors prevents expensive mistakes and ensures your gutters protect your home year-round.
Pro tip: Document your roof measurements and photograph problem areas during heavy rain to show installers exactly where water currently overwhelms your system.
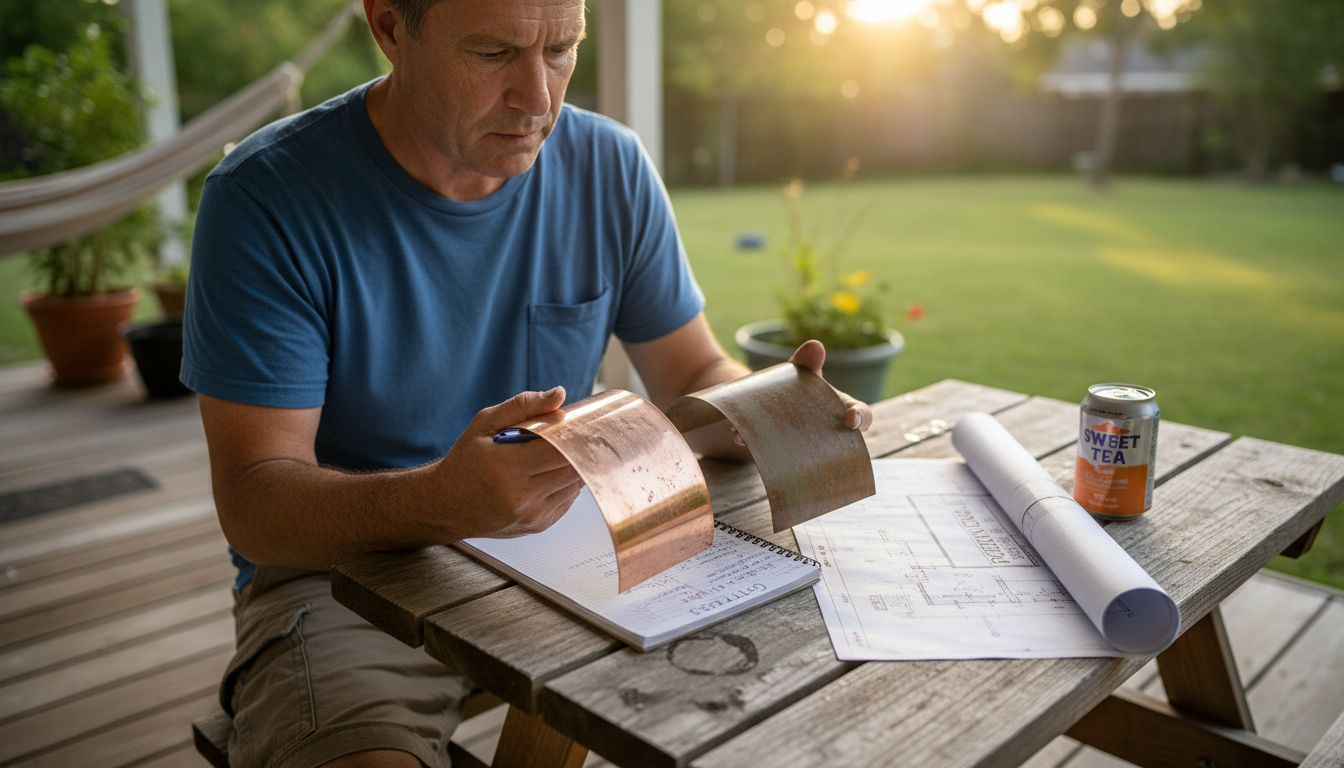
Step 2: Measure and Select Custom Gutter Materials
Now that you understand your home’s water drainage needs, it’s time to choose the right materials and get precise measurements. Selecting the correct gutter material and size determines how well your system performs during Florida’s intense rainfall events.
Start by measuring the length of each gutter run. Measure along the roofline where water will flow into the gutters. Take measurements on each side of your home separately, including any dormers or roof sections that slope independently. Write down these measurements in feet, rounding up to the nearest whole number. These lengths will determine how much material you need and help installers quote your project accurately.
Next, decide on your material. Different materials offer distinct advantages for Florida homes:
- Aluminum: Lightweight, affordable, rust-resistant, and easy to install
- Copper: Highly durable, naturally antimicrobial, develops attractive patina, premium price
- Stainless steel: Excellent corrosion resistance, strong, more expensive
- Galvanized steel: Budget-friendly but requires more maintenance in humid climates
Copper stands out for Florida because of its corrosion resistance and durability. It resists salt air near coastal areas and maintains performance for decades. Copper gutters form leak-tight joints naturally and require minimal maintenance beyond occasional cleaning.
Here is a summary of common gutter materials and their key characteristics for Central Florida homes:
| Material | Strengths | Drawbacks | Typical Lifespan |
|---|---|---|---|
| Aluminum | Lightweight, rust-resistant | Can dent from impacts | 20-30 years |
| Copper | Extremely durable, corrosion-proof | High upfront cost | 50+ years |
| Stainless Steel | Very strong, minimal rusting | Expensive, heavier | 20-30 years |
| Galvanized Steel | Inexpensive, sturdy | Rusts over time in humidity | 15-20 years |
Consider material selection based on rainfall intensity and your roof design. Standard five-inch gutters work for most homes, but if you have a larger roof or significant canopy coverage, six-inch gutters provide better capacity. Measure your roof area from Step 1 to help determine which size fits your needs.
Decide on gutter profile and finish. Seamless gutters are custom-formed to your measurements, eliminating vulnerable seams where leaks develop. Choose a color that complements your home or offers practical benefits. Darker colors absorb heat and may expand slightly; lighter colors reflect sun and minimize expansion.
Note your downspout preferences. Standard downspouts are three inches by four inches, but larger systems may need bigger downspouts. Determine how many you need based on roof area and rainfall intensity.
Material choice matters less than proper sizing and installation because a cheap gutter sized correctly outperforms an expensive gutter that’s undersized.
Collect all measurements and preferences. You now have everything needed to get accurate quotes from custom gutter installers who can fabricate materials specifically for your home.
Pro tip: Bring photos of water damage and overflow areas to your consultation so installers understand exactly why you’re upgrading and can recommend the best material and size combination.
Step 3: Install and Secure Custom-Fit Gutters
Installation is where your custom gutters transition from materials to a functioning water management system. Proper installation and securing ensure your gutters handle Florida’s heavy rainfall without damage, leaks, or failure.
Start by preparing your fascia board and roofline. Remove any old gutters or debris. Inspect the fascia for rot or damage, as gutters need solid support. If your fascia is compromised, address it before installing new gutters. The fascia must be clean and dry for proper fastening.
Position your gutters along the roofline. Gutters should slope slightly toward downspouts at a rate of about one-quarter inch per ten feet. This slope prevents standing water and ensures drainage during heavy rain. Measure carefully to establish the correct slope before fastening.
Secure gutters using proper fastening methods. Installation requires correct spacing and attachment to prevent movement from thermal expansion and weather loads:
- Space fasteners approximately 24 inches apart along the gutter run
- Use corrosion-resistant fasteners that match your gutter material
- Secure both the gutter itself and any brackets or hangers
- Ensure fasteners penetrate the fascia fully without overtightening
Understanding gutter attachment and fastening spacing prevents damage from thermal movement. Metal gutters expand and contract with temperature changes. Improper fastening causes stress that leads to cracks, separation, or fastener failure. Allow for slight movement while maintaining secure support.
Install brackets and hangers before final gutter positioning. These support components distribute weight and prevent sagging. K-style brackets work for most homes, while larger gutters may need stronger hanger systems. Ensure brackets are level and properly aligned.
Connect gutter sections using sealer or sealant at joints. Seamless gutters eliminate most joints, but downspout connections still need attention. Use high-quality gutter sealant compatible with your material. Allow sealant to cure fully before exposing gutters to heavy rain.
Attach downspouts vertically along your foundation. Position them to discharge water at least four to six feet away from your home. Downspout elbows and extensions direct water safely away from your foundation and landscaping.
Proper installation matters more than premium materials because a well-installed affordable gutter system outperforms a poorly installed expensive one every time.
Test your system by running water from a hose along the gutter. Watch for proper flow toward downspouts and check for leaks at joints. Make adjustments before the next heavy rain.
Pro tip: Install gutter guards or screens during initial installation to prevent leaves and debris from clogging your system, reducing future maintenance needs throughout the year.
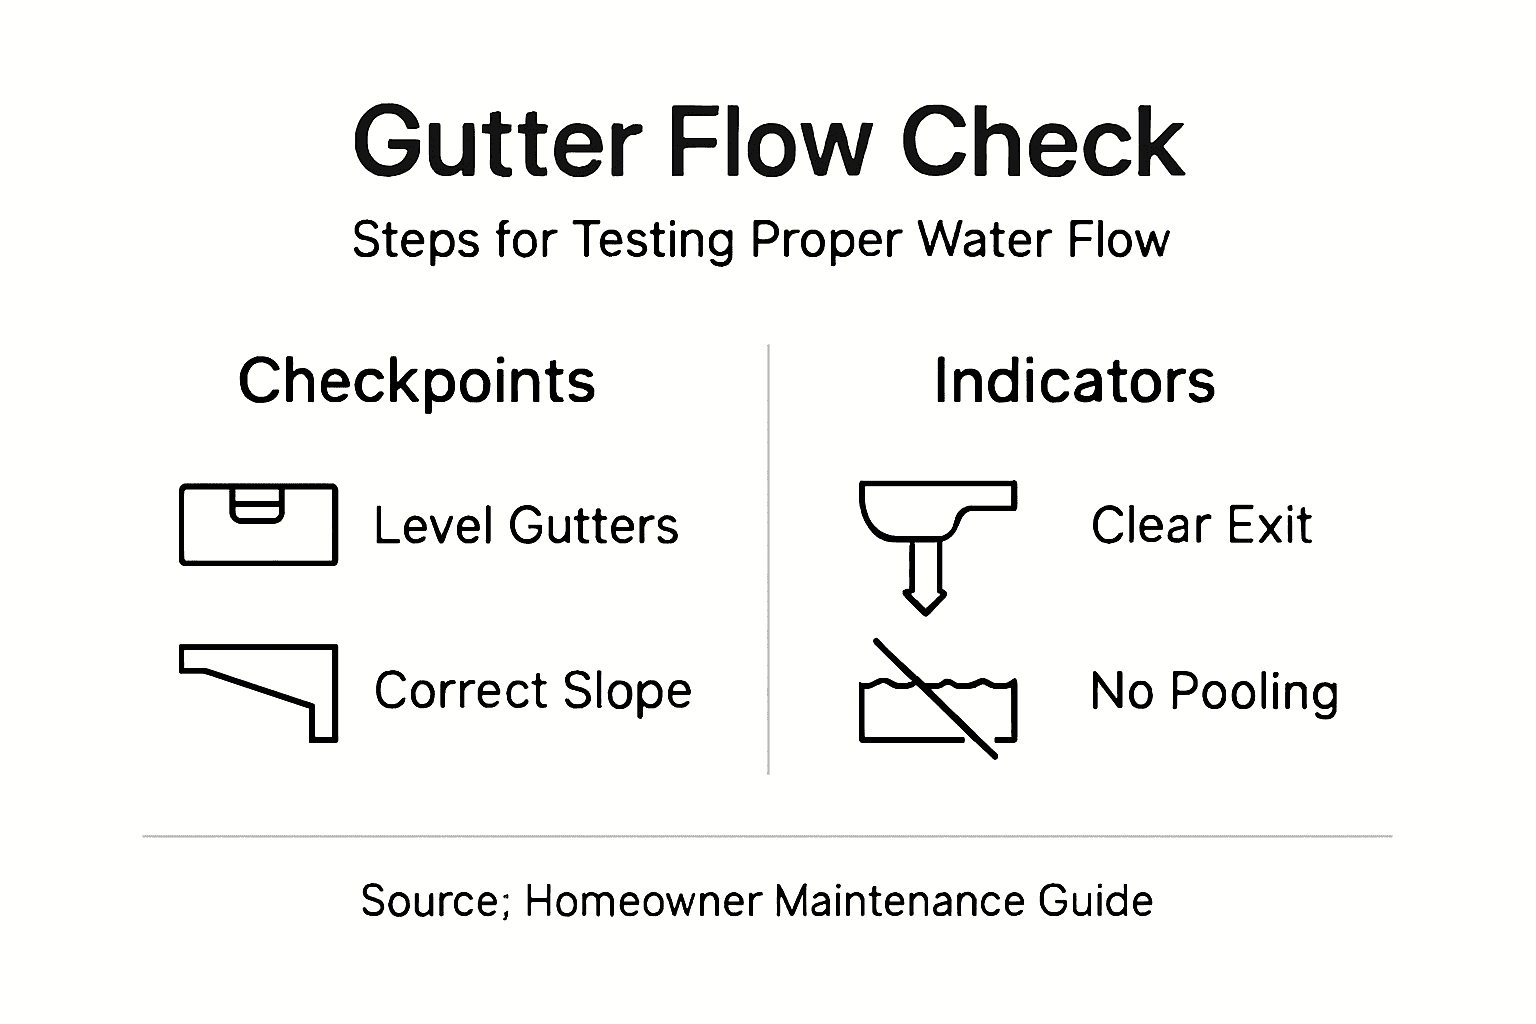
Step 4: Inspect and Test for Proper Water Flow
Now that your gutters are installed, testing ensures they perform correctly during actual rainfall. This step verifies that water flows smoothly toward downspouts without pooling, overflowing, or causing damage to your home.
Start by visually inspecting your entire gutter system. Walk around your home and check that gutters are level and properly aligned. Look for any visible sagging, gaps, or separation at joints. Ensure downspouts are securely attached and positioned to direct water away from your foundation.
Measure the gutter slope carefully. Gutters should descend toward downspouts at approximately one-quarter inch per ten feet of run. Use a level and measuring tape to verify slope at multiple points. Incorrect slope causes standing water, which leads to algae growth, debris accumulation, and eventual gutter failure.
Check for obstructions inside gutters. Even new systems can have debris from installation. Remove any leaves, dirt, or construction materials. Clean gutters allow water to flow freely without backup or overflow during heavy rain.
Perform a water flow test using your garden hose. This reveals problems before the next storm:
- Start at the highest end of each gutter run
- Run water steadily from your hose while observing flow
- Watch for water movement toward downspouts
- Check for overflow, pooling, or leaking at joints
- Ensure downspouts discharge water properly away from your foundation
Use visual inspection and water flow testing methods to verify proper gutter function. Check that water exits downspouts without backing up into gutters. Observe whether water flows smoothly or hesitates anywhere in the system. Any hesitation suggests slope problems or blockages requiring adjustment.
Inspect gutter seams and connections during your water test. Watch for leaks at joints, fastener holes, or where gutters meet downspouts. Small leaks discovered now are easy to seal. Leaks ignored become structural damage after months of water penetration.
Test downspout extensions and drainage paths. Ensure water discharges onto dry ground, not toward your foundation or into landscaping that directs water back toward your home. Downspout extensions should extend at least four to six feet from your foundation.
Proper water flow prevents costly foundation damage, basement moisture, and landscape erosion by moving water safely away from your home during Florida’s heavy rainfall events.
Make notes of any adjustments needed. Common fixes include adjusting hangers to improve slope, resealing joints, or repositioning downspouts. Address problems immediately while the system is fresh.
Use this quick reference to troubleshoot common gutter installation issues:
| Problem | Likely Cause | Recommended Solution |
|---|---|---|
| Water overflow | Insufficient gutter size | Upgrade to larger gutter system |
| Leaks at joints | Poor sealing or old sealant | Apply new gutter sealant |
| Pooling in gutter | Improper slope or blockage | Adjust slope or clear debris |
| Gutter sagging | Loose or spaced brackets | Tighten/replace gutter hangers |
| Short water discharge | Downspouts too short | Add or extend downspout extensions |
Pro tip: Perform your water flow test on a dry, clear day so you can see exactly where water goes and spot any issues without the chaos of actual storm conditions.
Protect Your Home with Custom-Fit Gutters Designed for Central Florida
Understanding your home’s unique water drainage needs is critical to preventing costly foundation damage and moisture problems. This article breaks down key steps like assessing your roof size, choosing the right gutter material, and ensuring proper installation for optimal water flow. If you are facing challenges such as water overflow, sagging gutters, or leaks, these are clear signs that your current system may not be up to the task of handling Florida’s heavy rainfall.
At Larry’s Gutters, we specialize in high-quality seamless gutter installation custom-fit to the exact measurements and site conditions of your home. Our expert team helps you select durable materials like aluminum or copper and installs gutters with precise slope and secure fastenings to keep water flowing properly. We also offer gutter guard installation to protect your system from debris and lessen maintenance efforts.

Don’t wait for the next heavy storm to expose vulnerabilities. Experience peace of mind knowing your gutters are crafted and installed to handle Central Florida’s weather extremes. Contact us today at Larry’s Gutters to request a free quote and safeguard your home with our trusted drainage solutions.
Frequently Asked Questions
How do I assess my home’s gutter needs before installation?
Before installation, examine your roof size, local rainfall patterns, and the current drainage performance. Measure your roof’s footprint, check for water pooling or erosion around your foundation, and assess the effectiveness of your existing gutters if applicable. Document your findings to guide your selection of the right gutter system.
What materials should I consider for custom-fit gutters?
When selecting materials for your gutters, consider options like aluminum for affordability, copper for durability, and stainless steel for strength. Each material has its strengths and weaknesses; for example, aluminum is lightweight and rust-resistant, while copper offers excellent corrosion resistance but at a higher cost. Choose based on your budget and specific needs.
How do I measure for custom-fit gutters?
To measure for custom-fit gutters, take precise measurements of each gutter run along your roofline, accounting for any dormers or sloped sections. Write down the lengths in feet, rounding up to the nearest whole number, to ensure you have an accurate quantity for materials and installation quotes.
What installation steps should I follow for custom-fit gutters?
Begin installation by preparing the fascia board and roofline to ensure solid support for the gutters. Secure the gutters with appropriate fasteners spaced every 24 inches, making sure they slope toward downspouts to prevent standing water. Finally, connect any sections and test the system with water to verify proper flow.
How can I test my gutter system for proper water flow?
To test your gutter system, perform a water flow test by running water from a hose along the gutter. Observe how water drains toward the downspouts and check for any overflow or pooling. Make adjustments as necessary to ensure that your gutters efficiently direct water away from your home’s foundation.
What common issues should I look for after installing gutters?
After installation, inspect for sagging, leaks at joints, and ensure proper slope toward the downspouts. Common problems include water overflowing from gutters due to insufficient size, blockages caused by debris, and improperly positioned downspouts that don’t direct water away. Address these issues promptly to avoid future damage.
