
Heavy rainfall in Central Florida is more than just a summer nuisance for homeowners in Lake, Marion, and Sumter counties. Water pooling near your foundation or overflowing gutters can quickly lead to costly damage and ongoing headaches. Taking time to assess and prepare your installation area, measure and cut accurately, and secure every piece means your gutter downspout system will channel water safely away from your home, even during Florida’s stormiest afternoons. Follow these steps to create a reliable, water-tight line of defense for your property.
Table of Contents
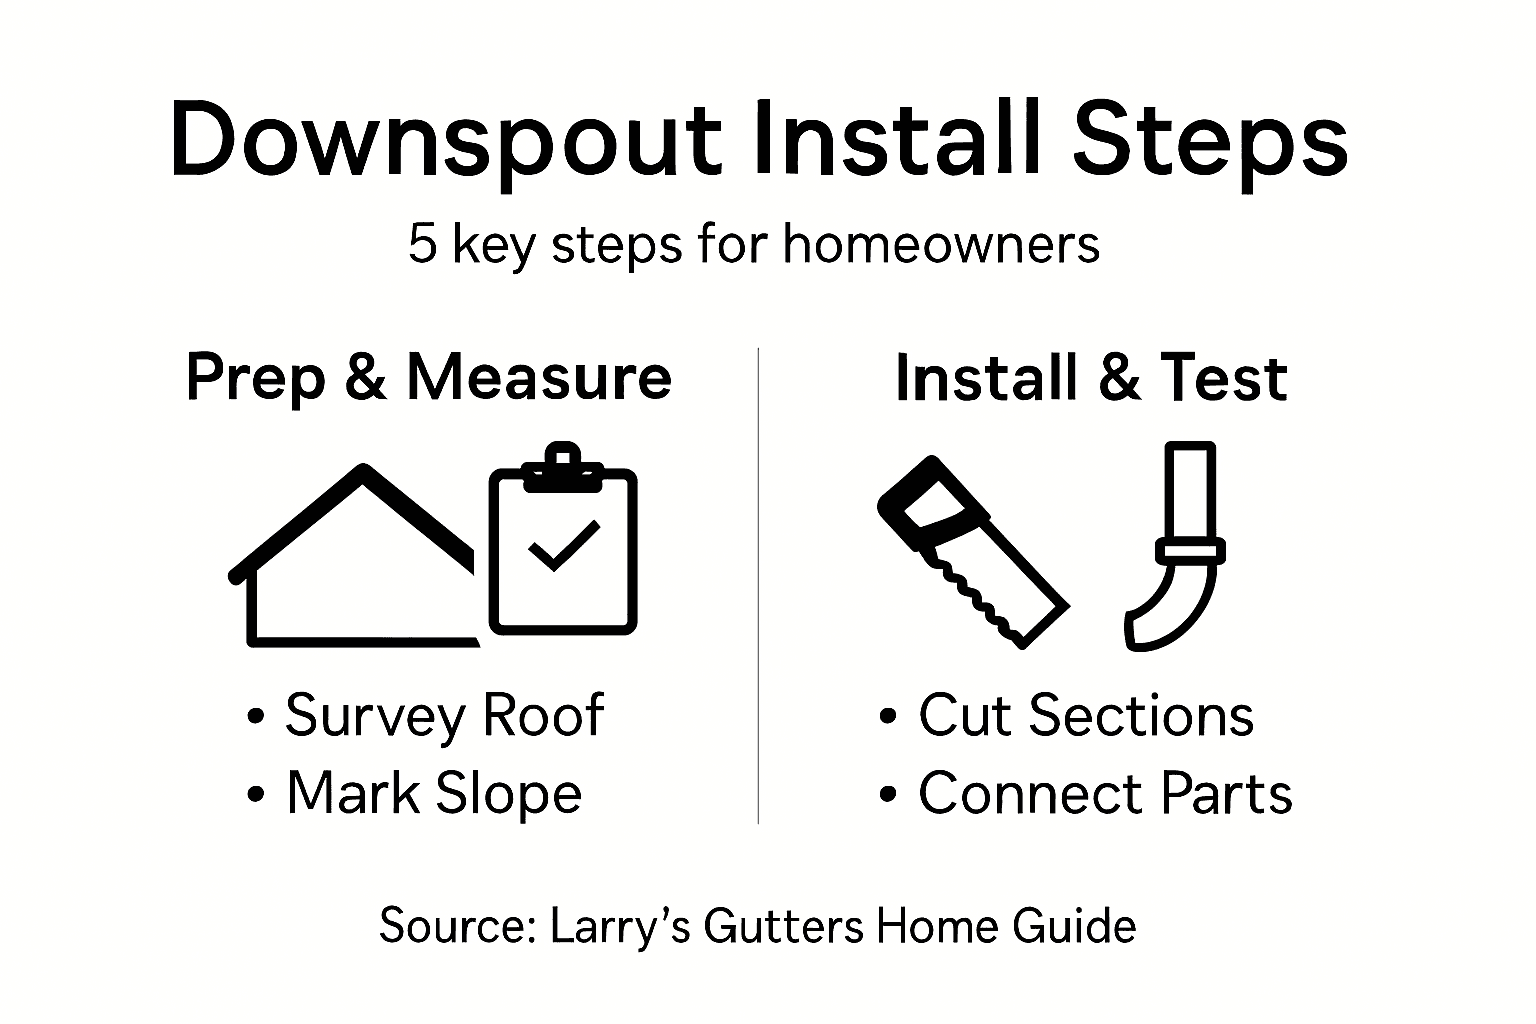
- Step 1: Assess And Prepare The Installation Area
- Step 2: Measure And Cut The Downspout Sections
- Step 3: Attach Downspout Brackets Securely
- Step 4: Connect And Join Downspout Components
- Step 5: Test Water Flow And Inspect The Installation
Quick Summary
| Key Point | Explanation |
|---|---|
| 1. Assess Roof and Water Flow | Observe roof size, slope, and rainfall patterns to guide gutter installation. |
| 2. Proper Downspout Measurements | Accurately measure downspouts with allowances for bends to avoid leaks. |
| 3. Secure Brackets for Stability | Install downspout brackets every three feet to prevent sagging and leaks. |
| 4. Crimp and Connect Components | Crimp downspout ends for snug elbow fits, securing everything with screws. |
| 5. Test Water Flow Before Completion | Run water through the system to check for leaks and ensure proper drainage. |
Step 1: Assess and prepare the installation area
Before you install a single piece of gutter or downspout, you need to understand your roof and how water will move across it. Take time to walk around your home and observe the overall layout. Note the size of your roof, the direction it slopes, and where water naturally wants to flow during heavy rainfall. This initial observation shapes everything that comes next.
Central Florida’s intense summer storms and afternoon downpours mean your gutters must handle serious water volume. Start by measuring your roof dimensions and calculating the total square footage. Then assess the rainfall intensity your area typically experiences. Gutters need to be sized appropriately for stormwater runoff to prevent overflow during the heavy storms common in Lake, Marion, and Sumter counties. If your downspout area is too small relative to your roof size, water will back up and spill over the edges when you need protection most.
Next, identify where water will exit your downspouts and where it will go from there. You’ll want to direct water away from your foundation and ensure the receiving area slopes away from your home. The ground should extend at least 10 feet from your foundation before water infiltrates into the soil. Check for obstacles like garden beds, AC units, fence lines, or neighbor properties that might interfere with water flow. Avoid directing water toward impervious surfaces like concrete driveways or patios whenever possible.
Also check your local building codes. Some jurisdictions in Central Florida require permits or have specific drainage requirements. Contact your county’s building department to understand any regulations before installation. This prevents costly mistakes and ensures your system meets local standards.
Finally, mark your roof’s high and low points. Gutters must slope slightly downward toward downspout locations to prevent water from pooling. Use chalk or temporary marking to identify where your downspouts will connect and where they’ll discharge water. This planning phase might feel tedious, but it eliminates problems later when water starts flowing during the next heavy rain.
Here’s a summary of key factors to assess before installing downspouts in Central Florida:
| Factor | Importance | Impact on System |
|---|---|---|
| Roof size | Determines water volume | Larger roofs need bigger gutters |
| Roof slope | Influences water flow direction | Improper slope causes overflow |
| Rainfall intensity | Affects sizing requirements | High rainfall needs wide channels |
| Downspout placement | Guides water away from foundation | Poor placement can cause flooding |
| Soil and obstacles | Affects drainage efficiency | Obstacles may block water exit |
| Local building codes | Ensures regulatory compliance | Ignoring codes risks penalties |
Pro tip: Take photos of your roof from ground level showing the overall slope and drainage patterns, then review them indoors while creating your installation plan. This visual reference prevents errors when you’re working on a ladder.
Step 2: Measure and cut the downspout sections
Now that you know where your water needs to go, it’s time to measure and cut your downspout pieces to fit your specific setup. Accurate measurements are critical because even small errors mean poor connections, leaks, and water escaping where you don’t want it. Get this step right and everything that follows becomes much easier.
Start by measuring from the point where your downspout attaches to the gutter all the way down to your discharge location. Use a tape measure and account for any bends or elbows you’ll add along the way. Write down these measurements on paper before you touch a saw. This prevents cutting mistakes that waste material and time. Remember that you’ll need to account for space where elbows and extensions overlap, so subtract a few inches from your total measurement to allow room for these connections.
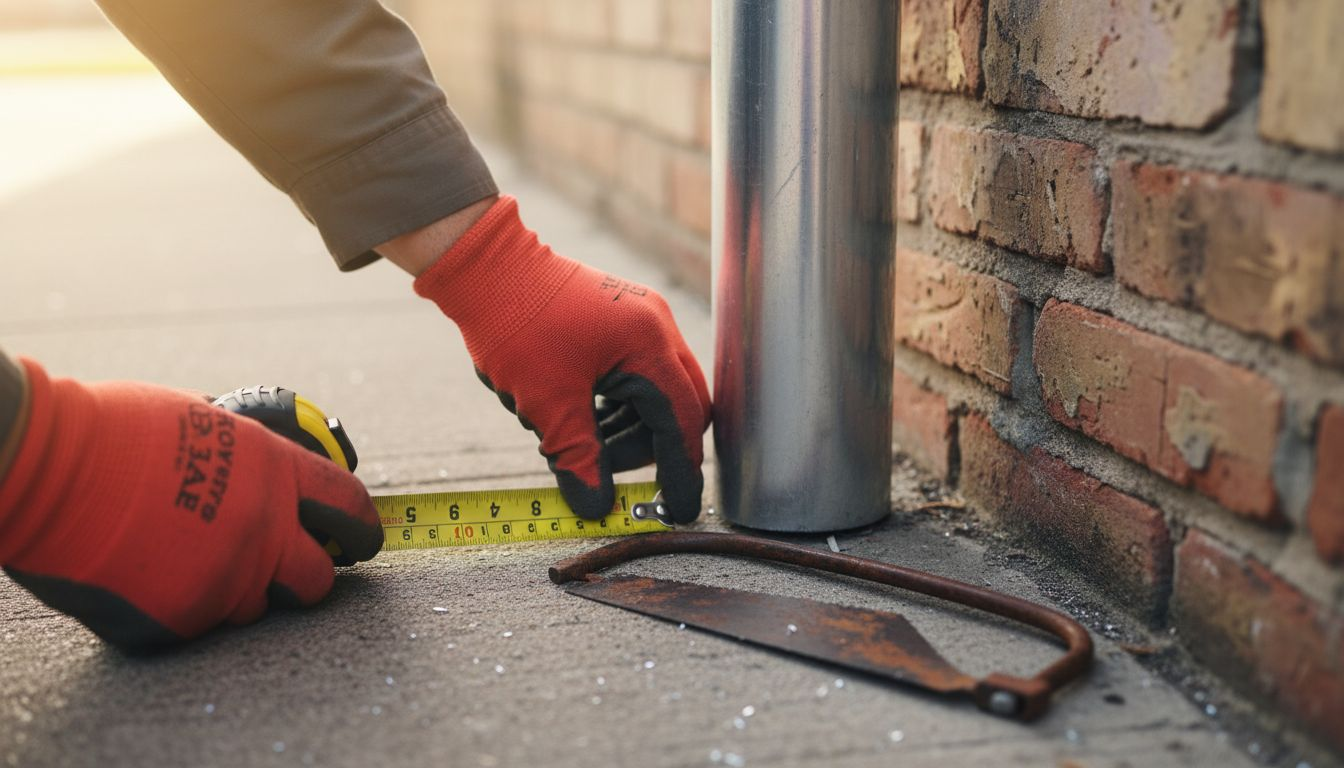
When you’re ready to cut, use a fine-blade hacksaw for clean cuts through metal downspouts. A fine-toothed blade creates precise edges that seat properly against elbows and extensions. Coarse saws leave rough edges that prevent tight fits and create points where water can leak. Mark your cut line clearly with a marker or pencil before starting. Cut slowly and steadily, keeping the blade perpendicular to the downspout for a square cut.
Accurate cuts ensure that your elbows and extensions attach securely without gaps. When pieces connect poorly, water finds those imperfections and leaks develop, especially during Central Florida’s heavy downpours. After cutting, check your pieces against your gutter setup to verify they fit correctly before moving forward with assembly.
Pro tip: Wear work gloves and safety glasses when cutting, and file down any sharp burrs along the cut edges with a metal file to prevent cuts when handling the pieces.
Step 3: Attach downspout brackets securely
Your downspout pieces are cut and ready, but they need strong support to handle the weight of water and resist the forces of Florida’s storms. Brackets are what keep your downspout aligned and firmly attached to your home. Without them, your system sags, pulls away from the wall, and eventually fails when you need it most.
Position your first bracket near the top of the downspout, right where it connects to the gutter. Space additional brackets every three feet down the length of your downspout system. In areas prone to heavier snow loads, place brackets every foot for extra support, though this is less critical in Central Florida’s mild winters. Use a level to ensure each bracket sits perfectly vertical before fastening. This prevents the downspout from tilting and causing water to pour off one side instead of flowing straight down.
Use appropriate fasteners that penetrate deep into your home’s structure. Screws work better than nails because they resist vibration and wind forces without loosening over time. Secure attachment prevents gaps and sagging that disrupt water flow and cause leaks at connection points. Tighten each fastener firmly but don’t over-tighten, which can warp the bracket or crack mounting surfaces on older homes.
Make sure each bracket sits flush against the downspout with no gaps or misalignment. Check your work by gently pushing on the downspout at each bracket point. It should feel rock solid with no movement or flex. Any give indicates a loose fastener that needs tightening before water starts flowing through the system.
Use this table to compare fastener options for downspout brackets:
| Fastener Type | Pros | Cons |
|---|---|---|
| Screws | Strong, resist loosening | Slightly more time to install |
| Nails | Quick to hammer in | Loosen over time, less secure |
| Bolts | Maximum strength, rarely needed | May damage siding or wall |
Pro tip: Use a stud finder to locate solid wood framing behind your siding, then position brackets to anchor directly into studs for maximum holding power and stability.
Step 4: Connect and join downspout components
You’ve measured, cut, and bracketed your downspout sections. Now comes the critical work of joining everything together so water flows smoothly without leaking. This step separates a functioning system from one that fails during the first heavy rain.
Start by crimping the end of your downspout section where it will meet an elbow. Crimping squeezes the metal slightly inward so the elbow slides over it snugly without gaps. Use a downspout crimper tool, which you can rent from most home improvement stores, or have a metal shop do this if you’re uncomfortable with the process. The goal is a tight overlap where the elbow sits firmly over the downspout end without inserting into it, which would create leak points.
Once crimped, slide your elbow into position and secure with sheet-metal screws drilled through both layers. Use a power drill with a metal bit to create pilot holes first, then drive the screws through. Two or three screws per joint provide solid holding power. Tighten firmly but don’t over-tighten, which strips threads or warps the metal and creates gaps where water escapes.
Repeat this process for each component connection along your downspout run. Proper crimping and tight screw fastening ensure water stays inside the system where it belongs. This is especially critical in Central Florida where afternoon storms deliver intense rainfall. Loose connections fail under pressure and direct water against your foundation instead of away from it.
Before moving to the next step, run your hand over each joint to verify there are no gaps or misalignment. The connections should feel solid with no flex or movement.
Pro tip: Apply a thin bead of metal-safe sealant around each joint after screwing it together, then wipe away excess with a rag to create a waterproof seal that prevents leaks even if vibration loosens fasteners slightly over time.
Step 5: Test water flow and inspect the installation
Your downspout system is assembled and ready. Before you consider the job finished, you need to run water through it and verify everything works as designed. This testing phase catches problems before a Florida thunderstorm puts your system to the real test.
Gather a garden hose and position it at your gutter entrance where water naturally collects. Turn on the water and let it flow into the gutter, watching how it moves toward your downspout. Observe the water’s path from the roof all the way to where it exits at ground level. The flow should be smooth and continuous with no backup or pooling anywhere along the line. Watch for any water escaping sideways from joints or connections, which indicates loose fasteners or poor sealing that need immediate attention.
Pay close attention to your discharge point. Water should exit safely away from your foundation onto pervious ground or toward landscaped areas. If water pools near your foundation or runs toward the house, you may need to adjust your downspout extension or regrade the soil. The receiving area should slope gently away from your home so water infiltrates into the ground rather than accumulating.
Inspect every bracket and fastener while the water is running. Check that brackets haven’t shifted or loosened during installation. Look for any signs of movement or flex in the downspout sections. Tighten any loose fasteners you find. Walk around your entire system and verify that water flows in the intended direction without overflow, leakage, or erosion damage around the outlet.
After your initial test with the hose, wait for the next heavy rain to observe your system under real conditions. This final verification shows you how your installation performs when it matters most.
Pro tip: Take photos or video of your water flow test from multiple angles, including close-ups of each joint and connection, so you have a reference if problems develop later and you need to troubleshoot exactly where water might be escaping.
Protect Your Home with Expert Gutter Downspout Installation Solutions
Proper downspout installation is essential to keep heavy Florida rainwater flowing away safely from your home. As you learned in the article, challenges like incorrect measurements, poor bracket attachment, and faulty connections can cause water damage, foundation flooding, and costly repairs. Homeowners in Central Florida need a reliable, custom-fit system designed specifically for local weather conditions, steep roof slopes, and high rainfall intensity.
Larry’s Gutters understands these exact pain points and offers professional seamless gutter installation, including precise downspout fitting and secure bracket placement. Our services are tailored to manage stormwater runoff effectively with durable materials and expert craftsmanship. Avoid the risks of leaks and overflow that come with DIY attempts. We also provide gutter guard installation and cleaning to keep your system clear and functional all year round.
Take control of your home’s water protection today. Explore our comprehensive gutter solutions tailored for Central Florida homeowners.

Ready to ensure your gutters and downspouts perform flawlessly during Florida storms? Contact Larry’s Gutters now at Larry’s Gutters to request your free quote and schedule expert installation. Don’t wait until the next heavy rainfall exposes vulnerabilities in your system. Protect your investment with the trusted local specialists who know gutters inside and out.
Frequently Asked Questions
How do I prepare the installation area for my gutter downspouts?
Before installing your gutter downspouts, assess your roof’s layout by noting the size, slope, and natural water flow directions. Measure the roof dimensions and consider local rainfall intensities to ensure your gutters can handle runoff efficiently.
What tools do I need for cutting downspout sections accurately?
You will need a fine-blade hacksaw for clean cuts and a tape measure for accurate measurements. Mark your cut line clearly before cutting to ensure precision and avoid wasting material.
How should I attach downspout brackets to my home?
Position brackets every three feet along the downspout, starting near the gutter connection, and use screws for a secure attachment to your home’s structure. Ensure each bracket is level and flush to prevent sagging and misalignment.
What is the best method for connecting downspout components?
Crimp the ends of the downspout where connections will occur, ensuring a snug fit with any elbows. Use sheet-metal screws to secure each joint, and check for gaps to prevent leaks during heavy rainfall.
How can I test the water flow after installation?
Run a garden hose at the gutter entrance and observe the water’s path from the roof to the discharge point. Look for any pooling or leaks that indicate issues with connections, and ensure water exits away from your foundation.
What should I do if I notice water pooling near my foundation after testing?
If you see water pooling near your foundation, you may need to adjust the downspout extension or regrade the soil to ensure proper drainage. Aim to have the receiving area slope gently away from your home to prevent water accumulation.
