TL;DR:
- Gutter flashing prevents water from seeping behind fascia and causing wood rot or structural damage. Proper installation, especially nailing only the top flange and extending the flashing correctly, is essential for effectiveness. Using the right materials and components, like gutter apron and drip edge, ensures comprehensive roof-to-gutter water protection.
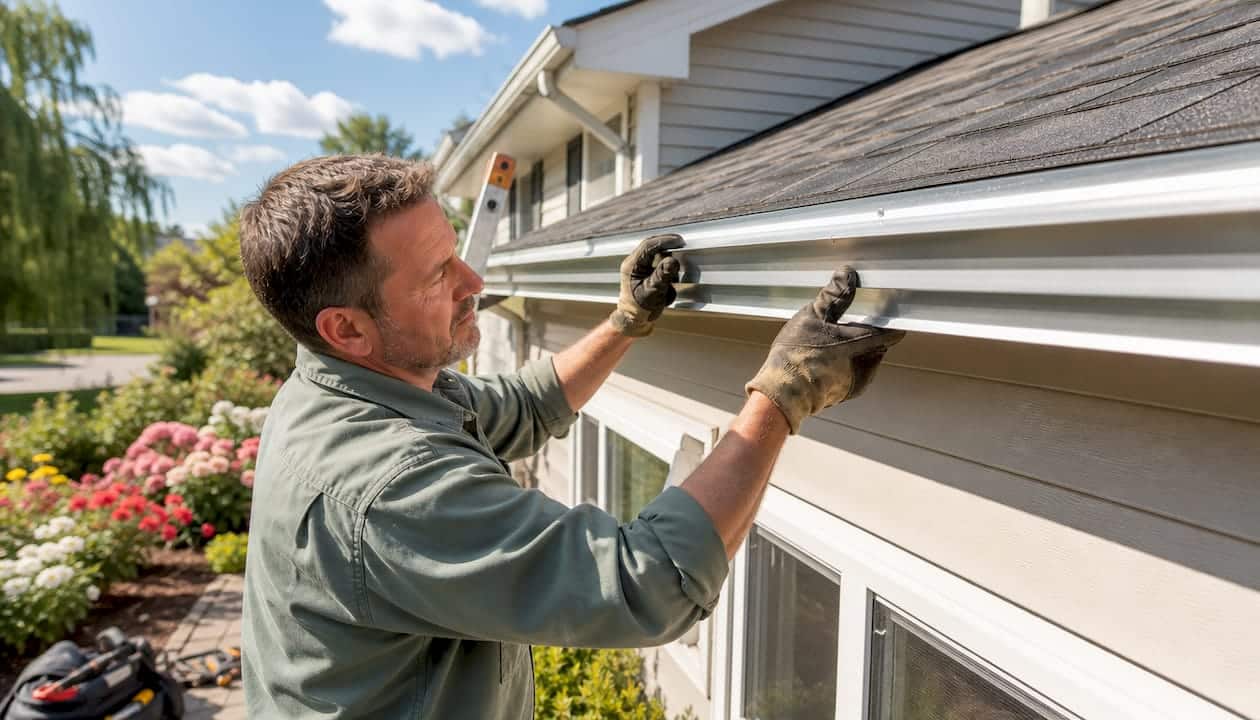
Gutter flashing is defined as a thin metal strip installed where the roof edge meets the gutter, directing rainwater into the gutter channel and blocking it from seeping behind the fascia board. Without this strip, water wicks into the wood framing, triggering rot, mold, and structural decay that costs far more to fix than the flashing itself. The industry recognizes two closely related terms: “gutter flashing” and “gutter apron,” which are often used interchangeably but carry slightly different profiles. Both serve the same core purpose. Common materials include aluminum and galvanized steel, chosen for their corrosion resistance and light weight. Understanding roof to gutter water flow is the first step toward protecting your home from hidden water damage.
What materials are used for gutter flashing?
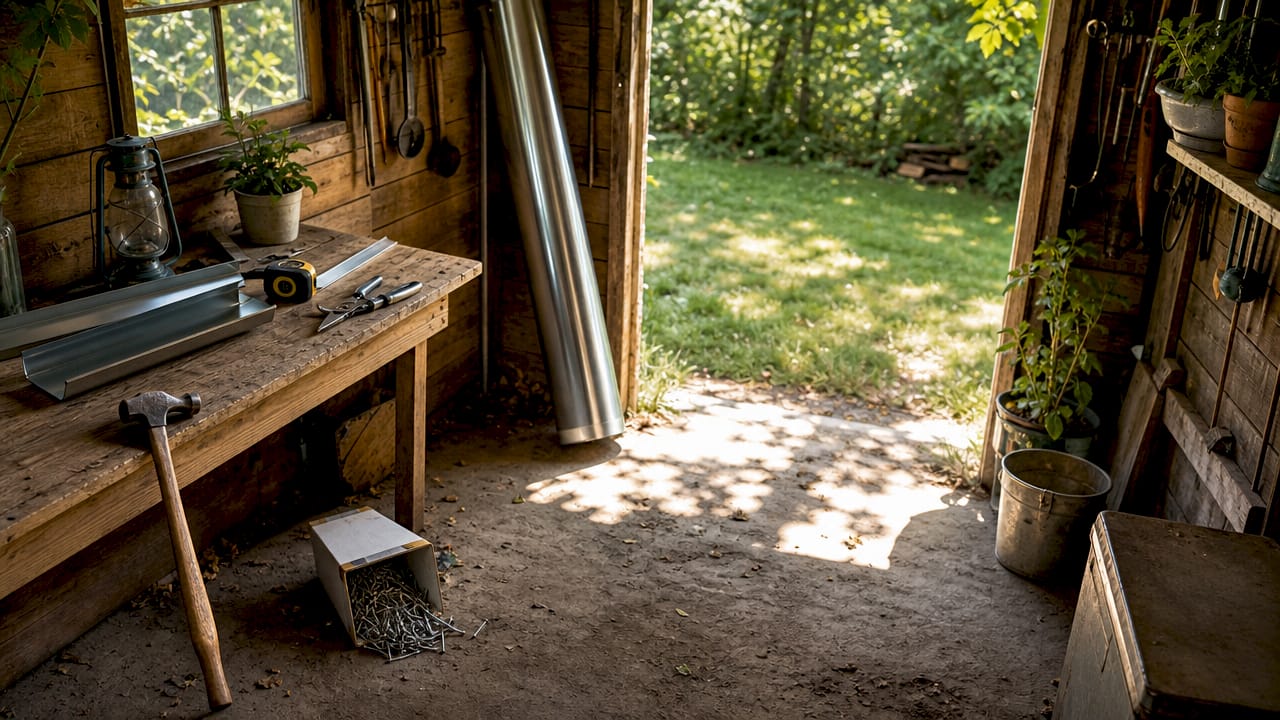
Aluminum and galvanized steel are the two standard materials for gutter flashing. Aluminum is lightweight, resists rust, and bends easily with basic hand tools, making it the top choice for most residential installations. Galvanized steel is heavier and slightly more rigid, which works well on roofs with steeper pitches where the flashing needs to hold its shape under heavy water flow. Copper is a third option, used mainly on high-end homes where aesthetics matter and budget is not a constraint.
Material choice directly affects how long your flashing lasts and how well it handles Florida’s intense rain seasons. Aluminum typically outlasts galvanized steel in humid climates because it does not rust. Galvanized steel can corrode at cut edges if the zinc coating is damaged during installation, so it requires careful handling with tin snips.
- Aluminum: Lightweight, rust-proof, easy to cut and bend, and widely available at home improvement stores.
- Galvanized steel: Stronger and more rigid, but vulnerable to edge corrosion if cut edges are left unsealed.
- Copper: Extremely durable and visually distinctive, but expensive and requires soldered joints for best performance.
For DIY homeowners, aluminum is the right call. It forgives minor bending errors, costs less per linear foot, and pairs well with both aluminum and vinyl gutters. Galvanized steel is better left to experienced installers who know how to protect cut edges.
Pro Tip: When buying aluminum flashing, look for a minimum thickness of 0.019 inches. Thinner stock dents easily and may not hold its angle under heavy water load.
How is gutter flashing installed correctly?
Correct installation is the single biggest factor in whether flashing actually protects your home. Proper integration with shingles requires the flashing to slide under the bottom course of shingles and extend over the back edge of the gutter. This creates a ledge that channels water down into the gutter rather than behind it.
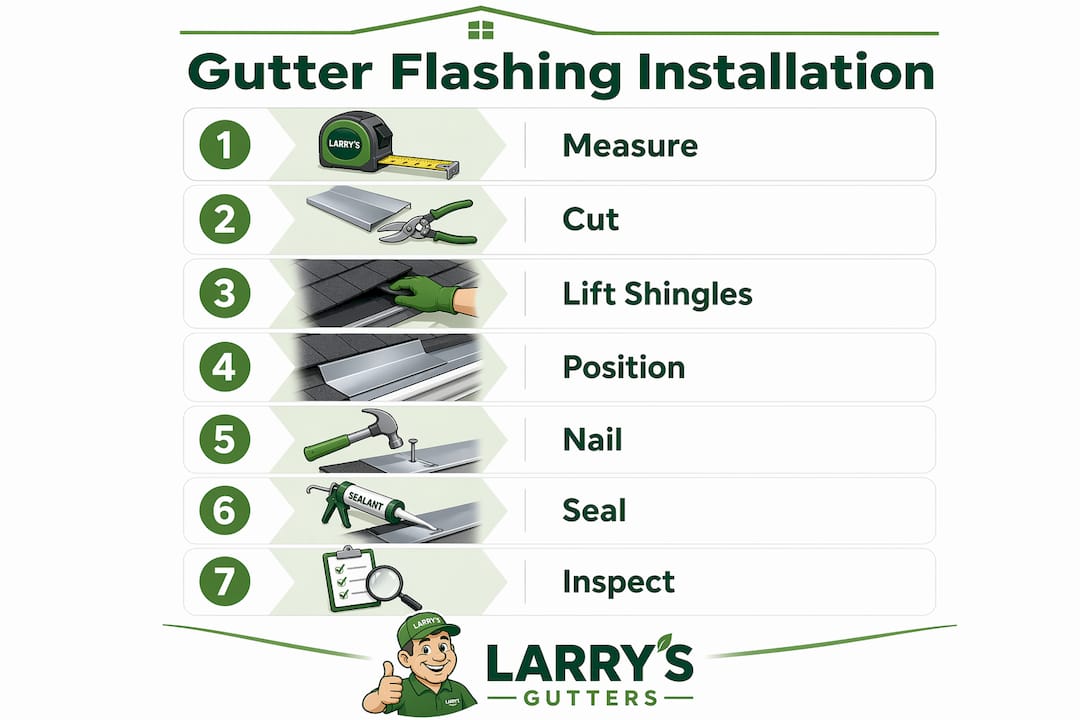
The step-by-step process for a standard installation is as follows:
- Remove the bottom shingle course carefully. Lift shingles gently to avoid cracking. On older roofs, shingles may be brittle, so work slowly.
- Slide the flashing under the shingles. The top horizontal flange goes under the shingles and over the roof underlayment. The vertical face hangs down over the gutter’s back wall.
- Extend the flashing beyond the fascia by 1/2 to 3/4 inch. This overhang prevents water from running back along the fascia board. Flashing must extend this distance to meet standard installation practice.
- Nail through the top horizontal flange only. Use corrosion-resistant nails spaced every 8–12 inches. Never nail through the vertical face of the flashing.
- Replace and re-nail the shingle course. Press shingles back down flat and secure them with roofing nails.
- Check alignment with the gutter. The flashing’s lower edge should sit inside or directly over the gutter opening, not resting on the gutter’s outer lip.
Nailing through the vertical face causes leaks and buckling because metal expands and contracts with temperature changes. Nails on the top flange allow the vertical section to move freely without pulling away from the roof. This is the most common mistake DIY installers make, and it leads to water intrusion within one or two rainy seasons.
Pro Tip: Apply a thin bead of roofing cement under the top flange before sliding it under the shingles. This creates a secondary water seal without relying on nails alone.
Tools you will need: tin snips, a tape measure, a pry bar for lifting shingles, corrosion-resistant roofing nails, a hammer or nail gun, and roofing cement. A chalk line helps keep the flashing straight across long roof runs.
What is the difference between gutter flashing, gutter apron, and drip edge?
These three terms confuse most homeowners, and the confusion leads to incorrect installations. Each component has a specific role, and using the wrong one in the wrong location reduces your roof’s water protection.
Drip edge is an L-shaped metal strip installed along both the eaves and the rakes (the sloped sides) of a roof. Its job is to move water off the roof edge and away from the fascia. On rakes, it sits on top of the underlayment. On eaves, it goes under the underlayment. Drip edge is L-shaped and designed for perimeter use, not specifically for directing water into a gutter channel.
Gutter apron is a wider profile flashing designed specifically for eaves where gutters are attached. Its extended lower flange reaches further into the gutter opening, making it more effective at channeling water than a standard drip edge. The gutter apron is the component most professionals mean when they say “gutter flashing.”
Gutter flashing is the broader term that covers any metal strip used at the roof-to-gutter junction. In practice, it often refers to the gutter apron profile.
| Component | Profile | Placement | Primary purpose |
|---|---|---|---|
| Drip edge | L-shaped, narrow | Eaves and rakes | Moves water off roof edge |
| Gutter apron | Wider, extended flange | Eaves only | Channels water into gutter |
| Gutter flashing | Varies | Eaves | General roof-to-gutter water direction |
The recommended practice is to use drip edge on rakes and gutter apron on eaves. This combination covers every vulnerable edge of the roof. Using only a drip edge on eaves leaves a gap that allows water to travel behind the gutter.
- Drip edge alone on eaves: leaves fascia exposed to water wicking.
- Gutter apron alone on rakes: does not protect the sloped edges properly.
- Both together: complete perimeter protection.
For a deeper look at how these components fit together, the Larrysgutters guide on gutter apron installation covers Florida-specific considerations in detail.
What are the common issues with gutter flashing, and how to avoid them?
Most gutter flashing failures trace back to one of four installation errors. Recognizing them before they cause damage saves you a significant repair bill.
Without gutter flashing, water wicks behind gutters and causes peeling paint, wood rot, sagging gutters, and structural decay. Flashing is not decorative trim. It is a structural element that holds the roof-to-gutter system together.
- Flashing installed over the gutter instead of behind it. Flashing over gutters causes water to bypass the gutter entirely, sending it straight down the fascia. The flashing must act as a ledge with the gutter hanging below it, like a pool positioned under a waterfall.
- Nailing through the vertical face. This creates holes that leak and restricts the metal from expanding in heat. Nails belong on the top flange only.
- Flashing not tucked under shingles. If the flashing sits on top of shingles rather than under them, water flows over the flashing and behind the gutter during heavy rain.
- Poor alignment with gutter guards. Flashing misaligned with gutter guards creates a shelf that catches leaves and debris, blocking water flow and defeating the purpose of the guard system.
“Replacing gutters without addressing flashing flaws will not stop water damage. The roof-to-gutter system must be evaluated as a whole. A new gutter on a roof with bad flashing will fail just as fast as the old one.”
Retrofitting flashing on an existing roof adds complexity. Retrofitting flashing requires lifting shingles carefully, which risks cracking older or brittle shingles and disrupting the underlayment. If your roof is more than 15 years old, have a professional assess the shingle condition before attempting a retrofit.
Pro Tip: Inspect your flashing every time you clean your gutters. Look for gaps between the flashing and the shingle course above it, rust staining on the fascia, or paint peeling directly behind the gutter. These are early signs of flashing failure.
During any gutter repair, always check the flashing condition before replacing the gutter itself. A failed flashing is often the root cause of the gutter damage, not the gutter.
Key Takeaways
Gutter flashing is a non-negotiable part of any functional gutter system, and skipping it or installing it incorrectly leads directly to fascia rot, structural decay, and costly repairs.
| Point | Details |
|---|---|
| Core definition | Gutter flashing is a metal strip that directs water from the roof edge into the gutter channel. |
| Best material for DIY | Aluminum is the top choice for most homeowners due to its light weight and rust resistance. |
| Critical nailing rule | Nail only through the top horizontal flange, spaced every 8–12 inches, to prevent leaks and buckling. |
| Flashing vs. drip edge | Use gutter apron on eaves and drip edge on rakes for complete perimeter water protection. |
| Retrofit caution | Retrofitting flashing on older roofs risks shingle damage and should involve a professional assessment. |
Why I think most homeowners underestimate gutter flashing
After seeing hundreds of gutter systems across Central Florida, the pattern is clear: homeowners replace gutters, paint fascia boards, and install gutter guards, but they never look at the flashing. The flashing is invisible once the gutter is hung, which is exactly why it gets ignored.
The real cost of that oversight shows up two or three years later. You get a call from a roofer who finds rotted decking at the eave line. Or a painter who notices the fascia paint is peeling from the inside out. By then, the repair bill is not just for the flashing. It is for the wood behind it.
Gutter flashing is often treated as optional by homeowners, but professionals are clear: it is a structural requirement. I would go further. Flashing is the cheapest insurance you can buy for your roof edge. A full run of aluminum flashing on an average home costs a fraction of what one fascia board replacement costs.
For DIY enthusiasts, the installation is genuinely manageable on a newer roof. The challenge comes with older roofs where shingles are brittle and the underlayment may already be compromised. Know your limits. If lifting a shingle causes it to crack, stop and call a professional. The money you save on labor is not worth the cost of a damaged shingle course.
— Larrysgutters
Larrysgutters can handle your flashing and gutter installation
Proper gutter flashing is not a detail you want to leave to chance, especially in Central Florida where heavy rainfall tests every component of your roof drainage system.

Larry’s Gutters installs custom-fit seamless gutters with correct flashing integration across multiple Florida counties. Every installation accounts for roof pitch, shingle condition, and gutter guard compatibility. If you are wondering whether seamless gutters are worth the investment, the answer depends heavily on whether the flashing underneath is done right. Larry’ s Gutters handles both. Request a free quote and get a system built to handle Florida weather from day one.
FAQ
What is gutter flashing, exactly?
Gutter flashing is a thin metal strip, typically aluminum or galvanized steel, installed at the roof-to-gutter junction to direct water into the gutter and prevent it from seeping behind the fascia board.
Is gutter flashing the same as a drip edge?
No. A drip edge is L-shaped and installed along both eaves and rakes to move water off the roof edge. A gutter apron, the most common form of gutter flashing, has a wider profile and is designed specifically to channel water into the gutter at the eaves.
What happens if gutter flashing is not installed?
Water wicks behind the gutter and into the fascia, causing wood rot, peeling paint, sagging gutters, and long-term structural damage to the roof edge and wall framing.
Can I install gutter flashing myself?
Yes, on newer roofs with flexible shingles. The process requires tin snips, corrosion-resistant nails, and roofing cement. Retrofitting flashing on older roofs is more complex and risks cracking brittle shingles, so a professional assessment is recommended first.
What is gutter flashing tape used for?
Gutter flashing tape is a self-adhesive butyl or aluminum-backed tape used to seal joints between flashing sections and around corners. It supplements metal flashing by closing gaps where two pieces meet, preventing water from entering at seams.
