
Heavy rainfall is a fact of life for many American families living in Central Florida, where even a single afternoon storm can leave lasting water damage. Protecting your investment starts with the right gutter system that matches your home’s roofline and drainage needs. This guide will walk you through each essential step, offering practical advice and industry standards so you can confidently achieve reliable, seamless gutter protection for your Lake, Marion, or Sumter County home.
Table of Contents
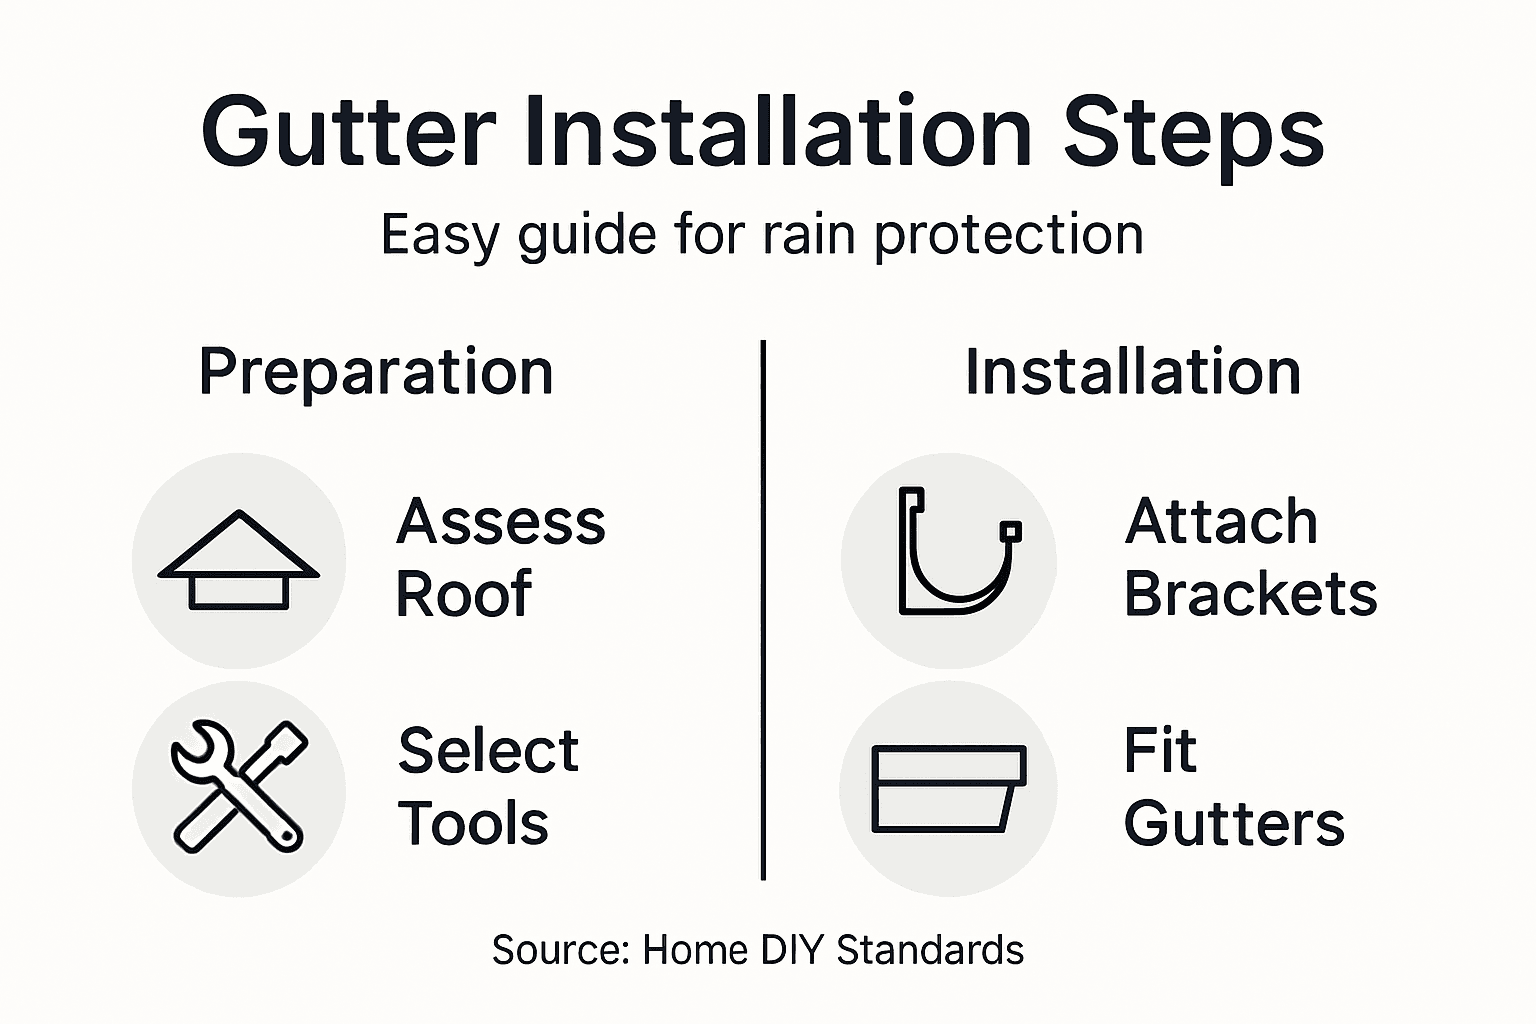
- Step 1: Assess Your Home’s Roofline and Needs
- Step 2: Gather Tools and Measure Materials
- Step 3: Prepare and Attach the Gutter Brackets
- Step 4: Cut and Assemble Gutter Sections
- Step 5: Install Gutters and Downspouts
- Step 6: Inspect the Installation for Proper Drainage
Quick Summary
| Key Point | Explanation |
|---|---|
| 1. Assess roofline and drainage needs | Evaluate your roof’s slope and surface area to determine gutter requirements for effective water management. |
| 2. Gather essential tools and materials | Collect necessary tools and calculate precise material needs, considering roof pitch and drainage capacity. |
| 3. Ensure proper gutter bracket placement | Install brackets 30 inches apart and use corrosion-resistant screws for stability and support of gutters. |
| 4. Cut sections accurately for assembly | Measure twice and cut once to minimize waste; ensure watertight connections with sealant in each joint. |
| 5. Inspect installation for drainage efficiency | Check slope and verify that water flows correctly; test the system with water to identify leaks or blockages. |
Step 1: Assess Your Home’s Roofline and Needs
Assessing your home’s roofline and gutter needs is the critical first step in protecting your property from water damage. This comprehensive evaluation helps you understand how water flows off your roof and identifies the most effective drainage strategy for your specific home.
Start by measuring your roof’s total surface area and analyzing its slope. Roofs with steeper pitches generate more runoff and will require gutters that can handle higher water volumes. Gutter design standards recommend planning systems that direct water at least 5-10 feet away from your home’s foundation. Pay close attention to your roof’s configuration look for areas where water might pool or cascade in concentrated streams.
Carefully examine your home’s exterior grading and existing drainage infrastructure. Some homes have perimeter drains or specific soil grading that impacts water management. Proper gutter slope is crucial typically requiring about 1/16-inch drop per foot to prevent standing water. Check for any existing water stains near your foundation or areas where soil appears consistently saturated these are signs your current drainage system needs improvement.
Pro tip: Sketch a rough diagram of your roof and mark potential gutter placement points before purchasing materials to ensure a precise and effective installation strategy.
Step 2: Gather Tools and Measure Materials
Before starting your gutter installation project, you will need to collect the right tools and precisely measure your home’s specific requirements. This preparation stage ensures a smooth and accurate installation process that matches your home’s unique characteristics.
Begin by assembling your toolkit. You will need a sturdy ladder, measuring tape, level, power drill, hacksaw, chalk line, and safety equipment like work gloves and protective eyewear. Gutter installation tools are essential for creating precise measurements and secure attachments. Measure your home’s entire roof perimeter carefully taking detailed notes about total linear footage. Consider roof pitch and surface area calculating the number of gutter sections and downspouts required. Modern technology like professional sizing calculators can help determine exact material requirements.

Select materials that match your home’s specific water management needs. Aluminum and vinyl gutters work well in most Florida environments offering durability and corrosion resistance. Measure carefully accounting for slope requirements and potential water volume. Purchase slightly more material than your initial calculations suggest to accommodate potential measurement errors or complex roof configurations.
Here’s a summary of common gutter materials and their key benefits:
| Material Type | Durability | Corrosion Resistance | Cost Effectiveness |
|---|---|---|---|
| Aluminum | Very strong | Excellent | Moderate initial investment |
| Vinyl | Moderate | Good | Most affordable option |
| Copper | Exceptional | Outstanding | Higher cost, premium look |
| Steel | High | Needs coating | Costly, very robust |
Pro tip: Take photographs of your roof and measurements to create a detailed installation reference that will help you or professionals understand your specific gutter requirements.
Step 3: Prepare and Attach the Gutter Brackets
Attaching gutter brackets correctly is crucial for creating a stable and long lasting drainage system that will protect your home from water damage. This step requires precision and careful preparation to ensure your gutters remain securely fastened under various weather conditions.
Begin by marking precise bracket placement along your roofline. Gutter mounting standards recommend installing brackets approximately 30 inches apart to provide adequate support. Use a chalk line to create a straight reference point and ensure even alignment. Select corrosion resistant screws that match your home’s exterior material wood siding will require different fasteners than brick or stucco. When drilling pilot holes drill slightly smaller than your screws to prevent wall damage and ensure a tight secure fit.
Pay close attention to the specific requirements for your home’s construction and regional weather patterns. Gutter attachment standards emphasize the importance of distributing load evenly and using appropriate fasteners that can withstand wind water and potential ice accumulation. Test each bracket after installation by applying gentle pressure to confirm it can support the weight of a fully loaded gutter system.
Pro tip: Use a level at multiple points during bracket installation to guarantee a consistent slope that allows water to flow smoothly toward downspouts.
Step 4: Cut and Assemble Gutter Sections
Cutting and assembling gutter sections requires precision and careful planning to create a seamless water management system for your home. This critical stage determines the effectiveness and longevity of your entire gutter installation.
Gutter assembly techniques recommend measuring twice and cutting once to minimize material waste and ensure perfect fit. Use a quality metal cutting saw with fine tooth blades to create clean straight edges. When joining sections focus on creating watertight connections by using specialized gutter sealant and ensuring minimal gaps. For long gutter runs consider incorporating expansion joints that allow for natural thermal movement and prevent structural stress.
Gutter installation standards emphasize the importance of joint integrity and proper spacing. Space your expansion joints no more than 50 feet apart to accommodate potential material contraction and expansion. Use rivets or specialized fasteners to secure sections and create robust connections that can withstand Florida’s intense weather conditions. Test each joint by applying gentle pressure and checking for any potential movement or weakness.
Pro tip: Always keep a tube of high quality weatherproof sealant nearby during assembly to quickly address any small gaps or potential leak points.
Step 5: Install Gutters and Downspouts
Installing gutters and downspouts is the pivotal moment that transforms your preparation into an effective water management system. This step requires careful attention to detail to ensure your home remains protected from potential water damage.
Gutter installation techniques recommend creating a precise slope of about 1/16-inch per foot toward the downspouts. Begin by carefully positioning each gutter section on the pre installed brackets ensuring a consistent downward angle. Connect the sections using watertight sealant and secure fasteners making certain there are no gaps where water could potentially leak. When attaching downspouts focus on routing them away from your home’s foundation securely anchoring them to prevent movement during heavy rainfall.
Downspout extension strategies emphasize directing water at least 5 to 10 feet away from your foundation. Consider adding splash blocks or underground drainage pipes to further protect your home’s structural integrity. Test each connection by running water through the system and observing the flow checking for any potential leaks or areas of standing water. Pay special attention to joints and connection points ensuring they remain tight and secure.
For quick reference, here are critical gutter installation measurements to remember:
| Measurement | Purpose | Recommended Value |
|---|---|---|
| Gutter Slope | Promotes smooth water flow | 1/16 inch drop per foot |
| Bracket Spacing | Prevents gutter sagging | 30 inches apart |
| Expansion Joints | Allows thermal movement | Every 50 feet of gutter run |
| Downspout Extension | Protects foundation | 5–10 feet away from house |
Pro tip: Take photographs of your installation at each stage to document the process and create a reference for future maintenance or potential insurance claims.
Step 6: Inspect the Installation for Proper Drainage
Inspecting your newly installed gutter system is a critical final step that ensures your home will be protected from potential water damage. This careful examination helps verify that all components are functioning exactly as they should.
Gutter inspection protocols recommend thoroughly checking multiple aspects of your drainage system. Start by verifying the gutter slope visually observing that water flows smoothly toward downspouts without pooling. Examine each section for rust holes or potential weak points that could compromise water flow. Pay special attention to downspout endpoints making sure water is directed at least 4 to 6 feet away from your home’s foundation to prevent soil saturation.
Drainage system evaluation involves simulating rainfall conditions by running water through the entire system. Use a garden hose to test each section watching how water moves and checking for any unexpected leaks or blockages. Look for signs of potential erosion near the foundation and ensure splash blocks or underground drainage pipes are correctly positioned. Verify that all fasteners remain tight and the system maintains its intended configuration under water flow conditions.
Pro tip: Perform this inspection during a light rain to see exactly how water moves through your newly installed gutter system in real world conditions.
Protect Your Home with Expert Gutter Installation Services
Installing gutters properly is essential to prevent costly water damage and foundation issues. If you’ve followed the detailed steps on how to install gutters for effective rain protection but feel overwhelmed by assessing roof slopes, securing brackets, or ensuring proper drainage, you are not alone. These challenges require precision and expert knowledge to guarantee your gutter system works flawlessly in Florida’s heavy rain and unpredictable weather.
At Larry’s Gutters, we specialize in custom seamless gutter installation designed specifically for Central Florida homes. Our professional team ensures precise bracket placement, correct gutter slope, and secure downspout installation so your home receives reliable protection year-round. We also offer gutter guard installation and thorough gutter cleaning and repair services to keep your system performing optimally.

Don’t wait until water damage threatens your home’s foundation or landscaping. Trust the experts at Larry’s Gutters to provide a durable, high-quality solution crafted for Florida’s unique conditions. Visit Larry’s Gutters today to request your free quote and secure peace of mind with a gutter system built to last.
Frequently Asked Questions
How do I assess my home’s roofline and gutter needs?
To assess your home’s roofline and gutter needs, start by measuring the total surface area of your roof and analyzing its slope. Look for areas where water pools and determine what type of drainage system is most effective for your home’s specific configuration.
What tools do I need for installing gutters?
You will need essential tools like a ladder, measuring tape, power drill, and safety equipment such as work gloves and protective eyewear. Gather all these tools before beginning the installation to ensure a smooth process.
How do I attach gutter brackets correctly?
Attach gutter brackets by marking precise placement along your roofline, typically 30 inches apart for adequate support. Use a level to ensure they are aligned correctly for a consistent slope that directs water toward the downspouts.
What is the proper method for cutting and assembling gutter sections?
Cut and assemble gutter sections by measuring carefully, then using a metal cutting saw to ensure clean edges. Apply sealant to joints to create watertight connections and incorporate expansion joints every 50 feet to accommodate thermal movement.
How do I install downspouts effectively?
Install downspouts by connecting them securely to gutters, ensuring they direct water at least 5 to 10 feet away from your home’s foundation. Securely anchor the downspouts to prevent movement during heavy rainfall, protecting your home from potential water damage.
How can I inspect my gutter system after installation?
Inspect your newly installed gutter system by checking the slope and ensuring water flows smoothly to the downspouts without pooling. Simulate rainfall by running water through the system to identify any leaks or blockages.
Recommended
- Gutter Guard Installation Workflow for Florida Homeowners
- Master the Seamless Gutter Installation Process for Your Home
- How Seamless Gutters Work to Protect Florida Homes
- 7 Smart Gutter Upgrade Ideas for Florida Homeowners
- How To Set Up A Tent In The Rain – Tent Explorer
- Gutter Installation Gainesville FL
- Gutter Installation Alachua FL
